 "My bird IS the word" (mybirdistheword)
10/22/2018 at 18:50 • Filed to: None
 3
3
 8
8|
"My bird IS the word" (mybirdistheword)
10/22/2018 at 18:50 • Filed to: None | 3
| 8 |
So my engine is ready to go in now :
Edited for Bandit, you are welcome

This is all the room I had to work with
So that job sucked, but not as bad as I thought. Special thanks to the second gen camaro forums (NastyZ28) for the help, Their advice helped me with tool selection. this shitty job required wobble extensions, a distributor wrench, three hours, and some cussing. I also somehow managed to lose my deepwell 9/16 socket. woo.
Also, over the last few weeks I completed the fuel lines. Those pictures to follow:
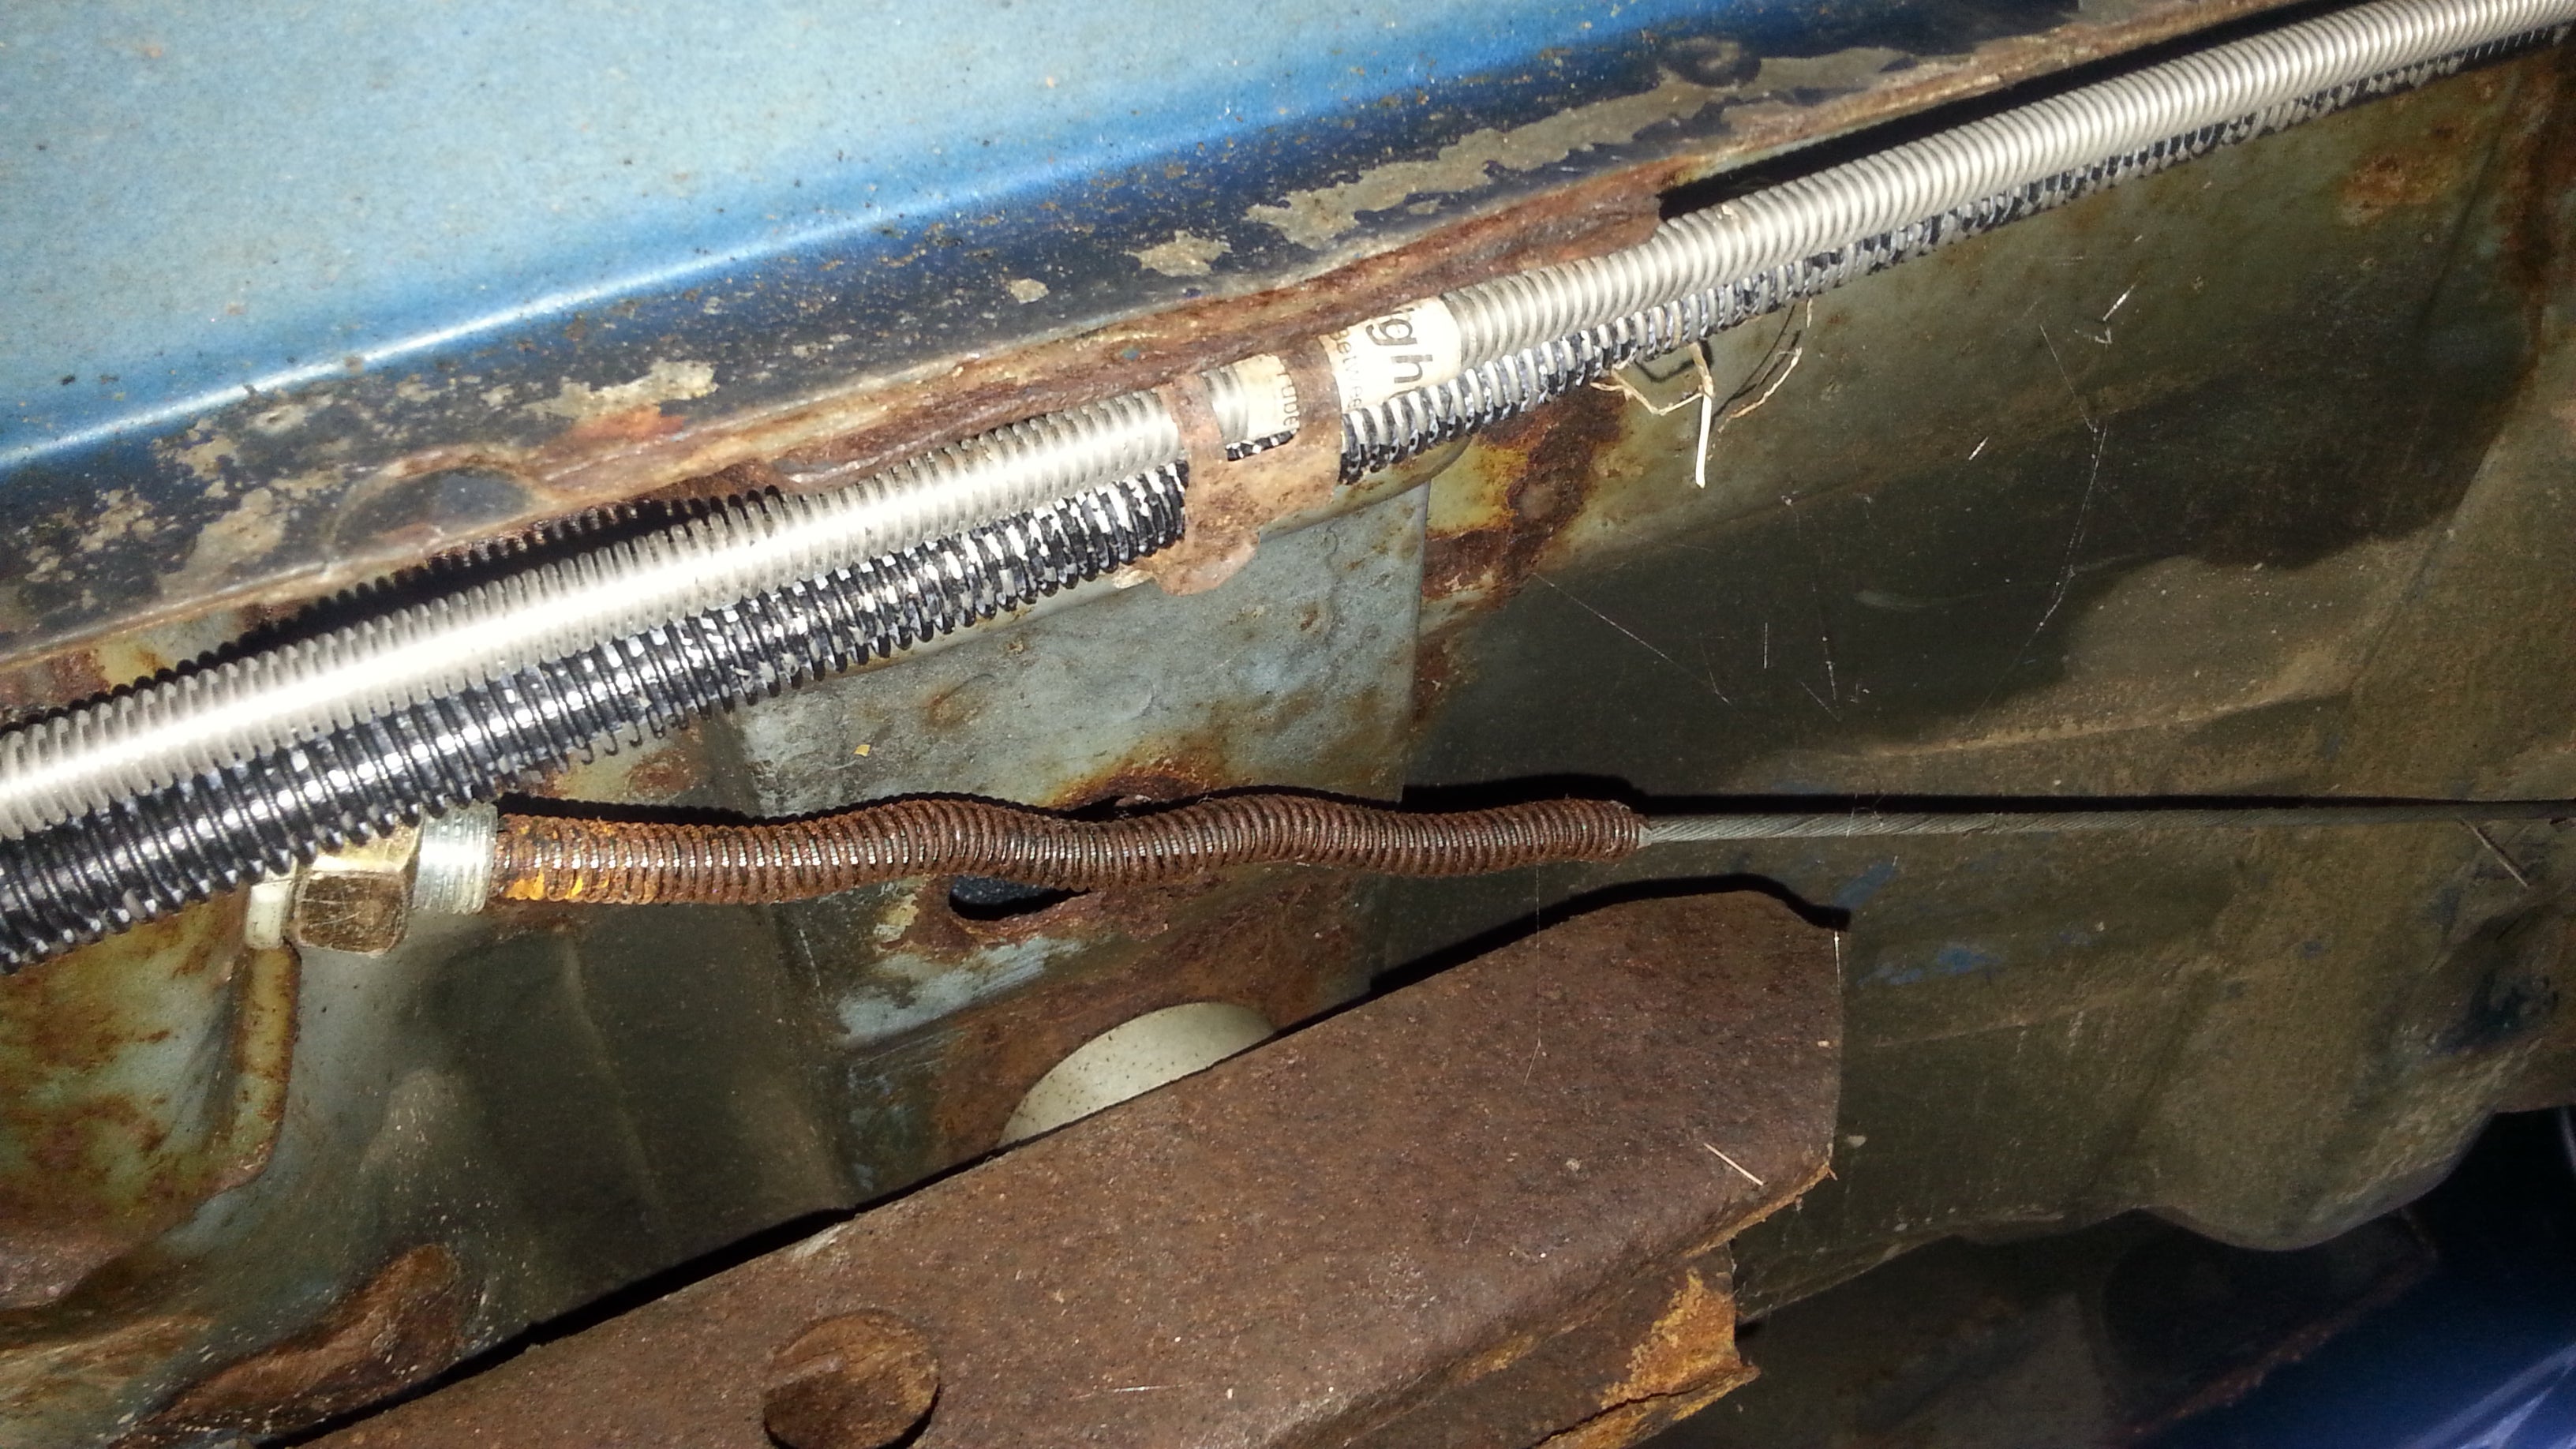
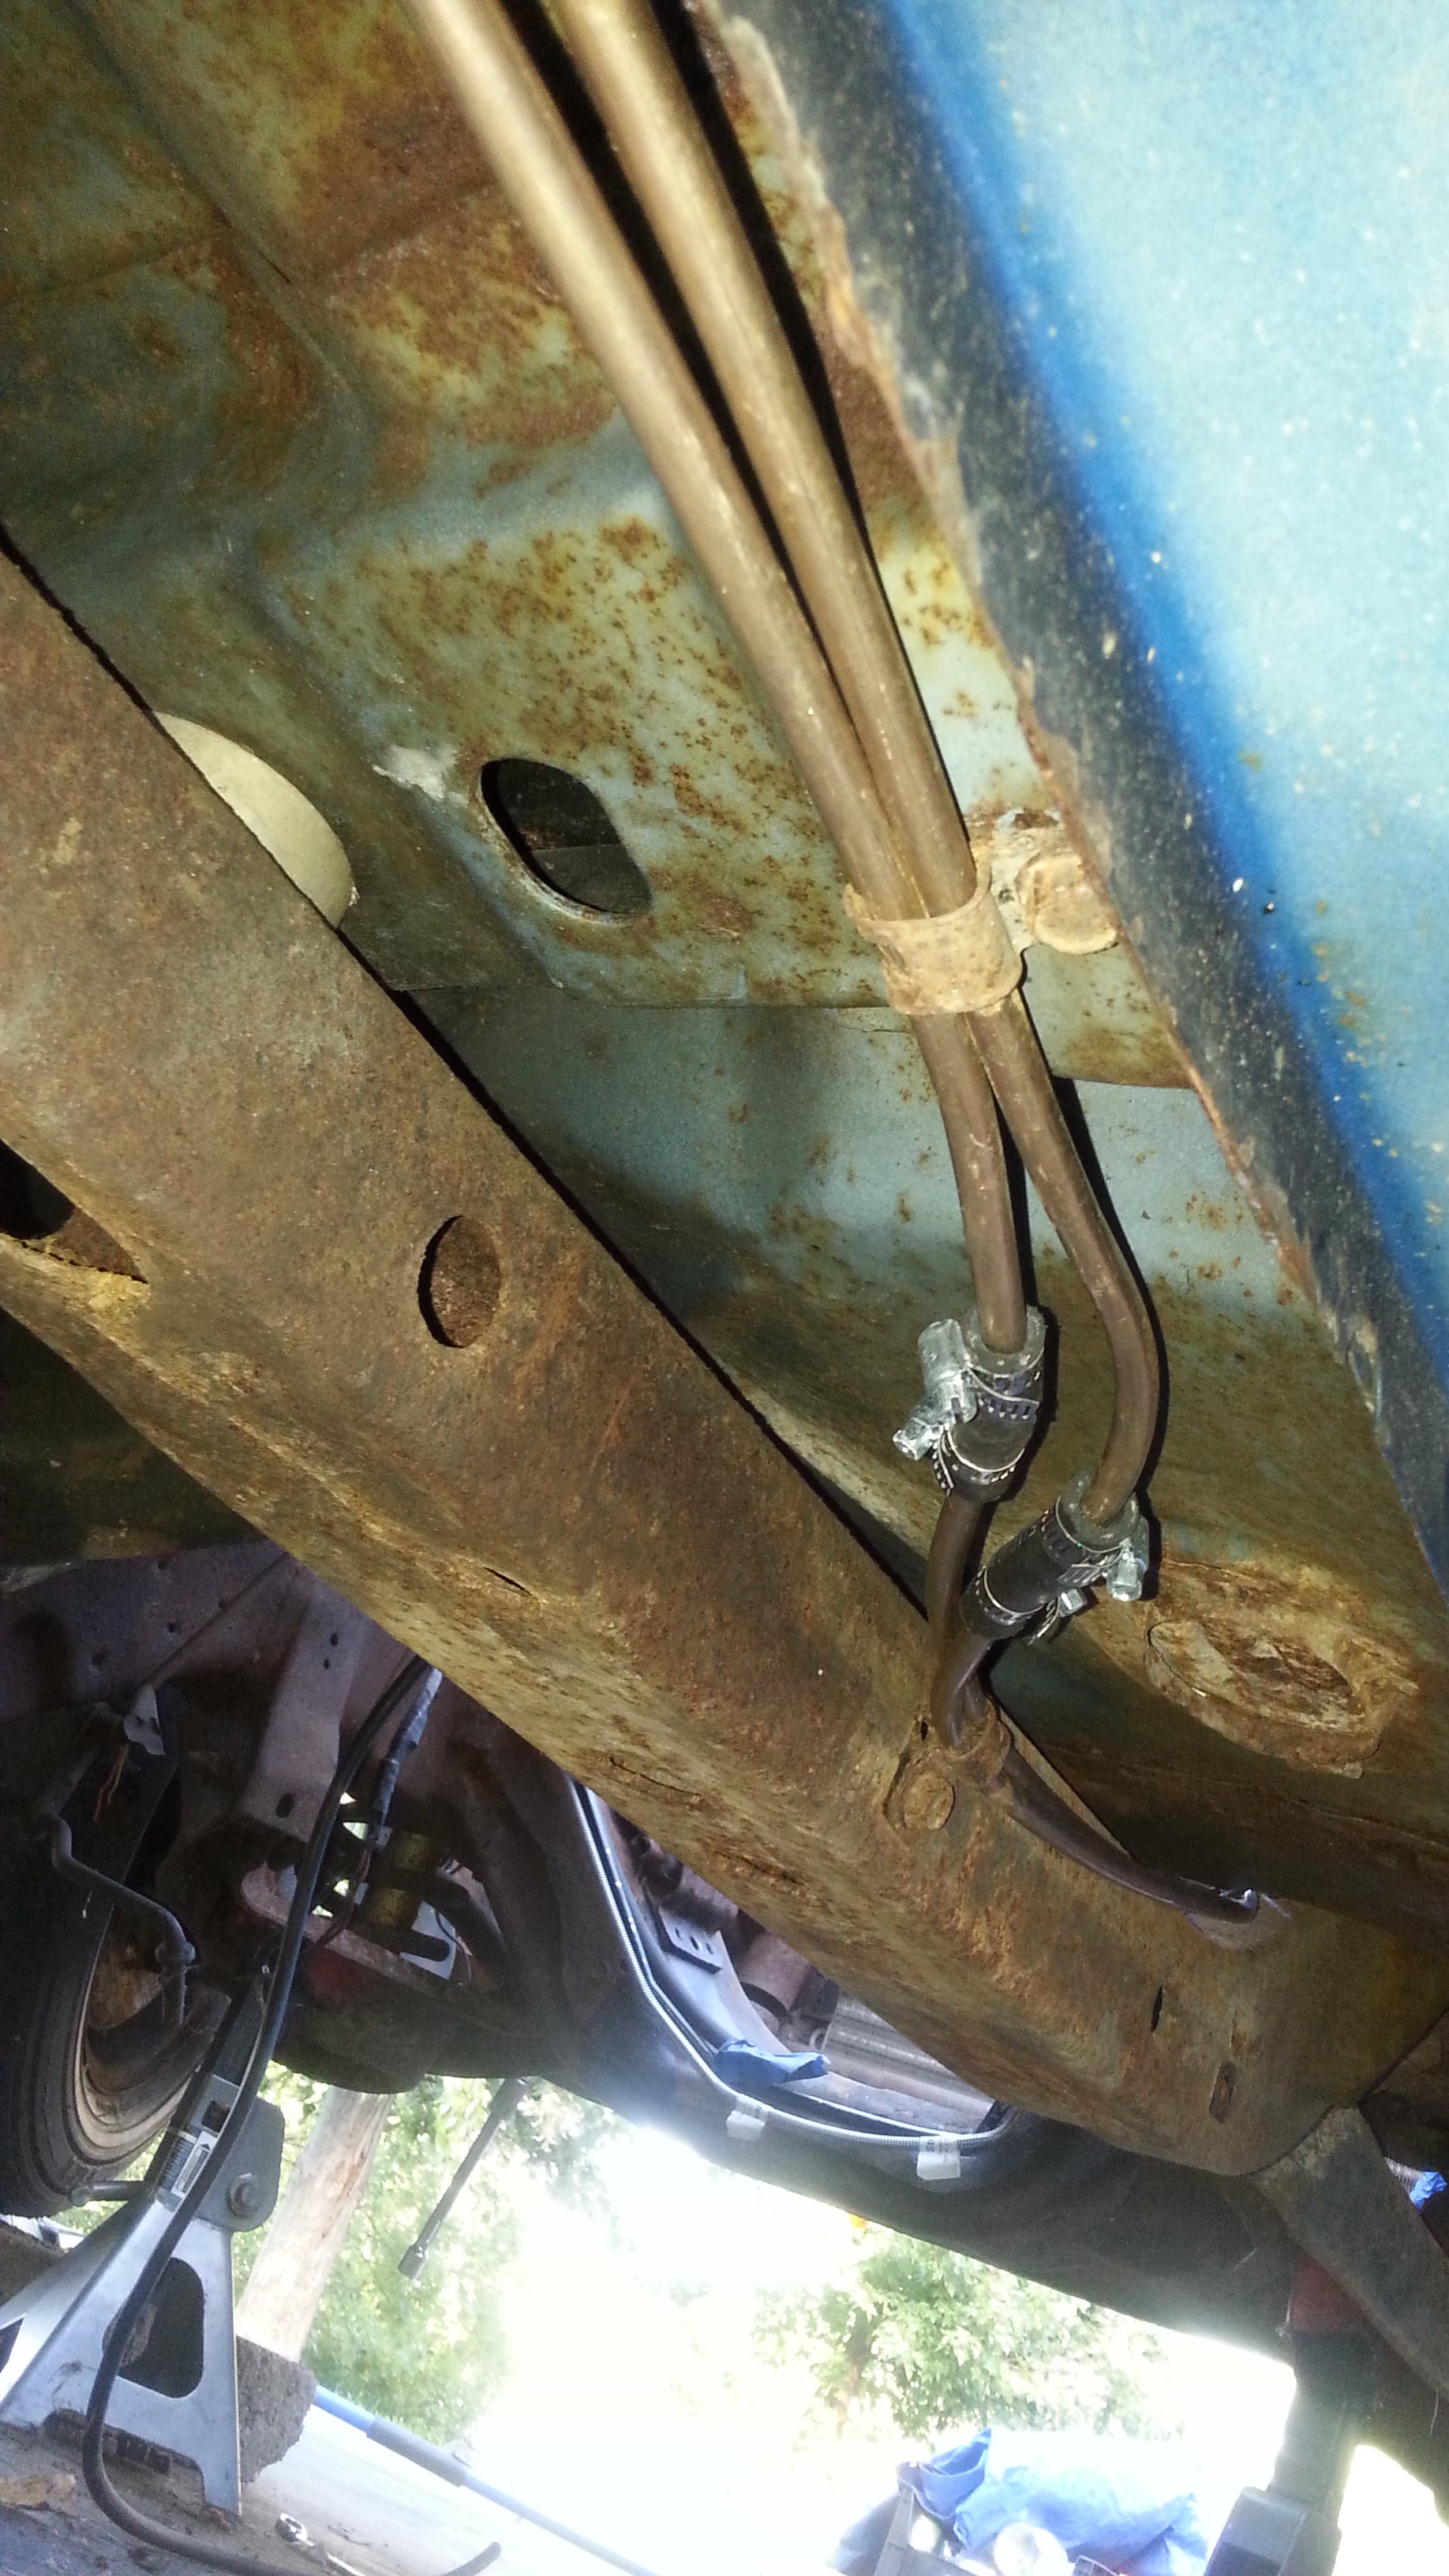

I’ll have to take pictures of the back near the tank but the front is on stands right now.
For bandit:
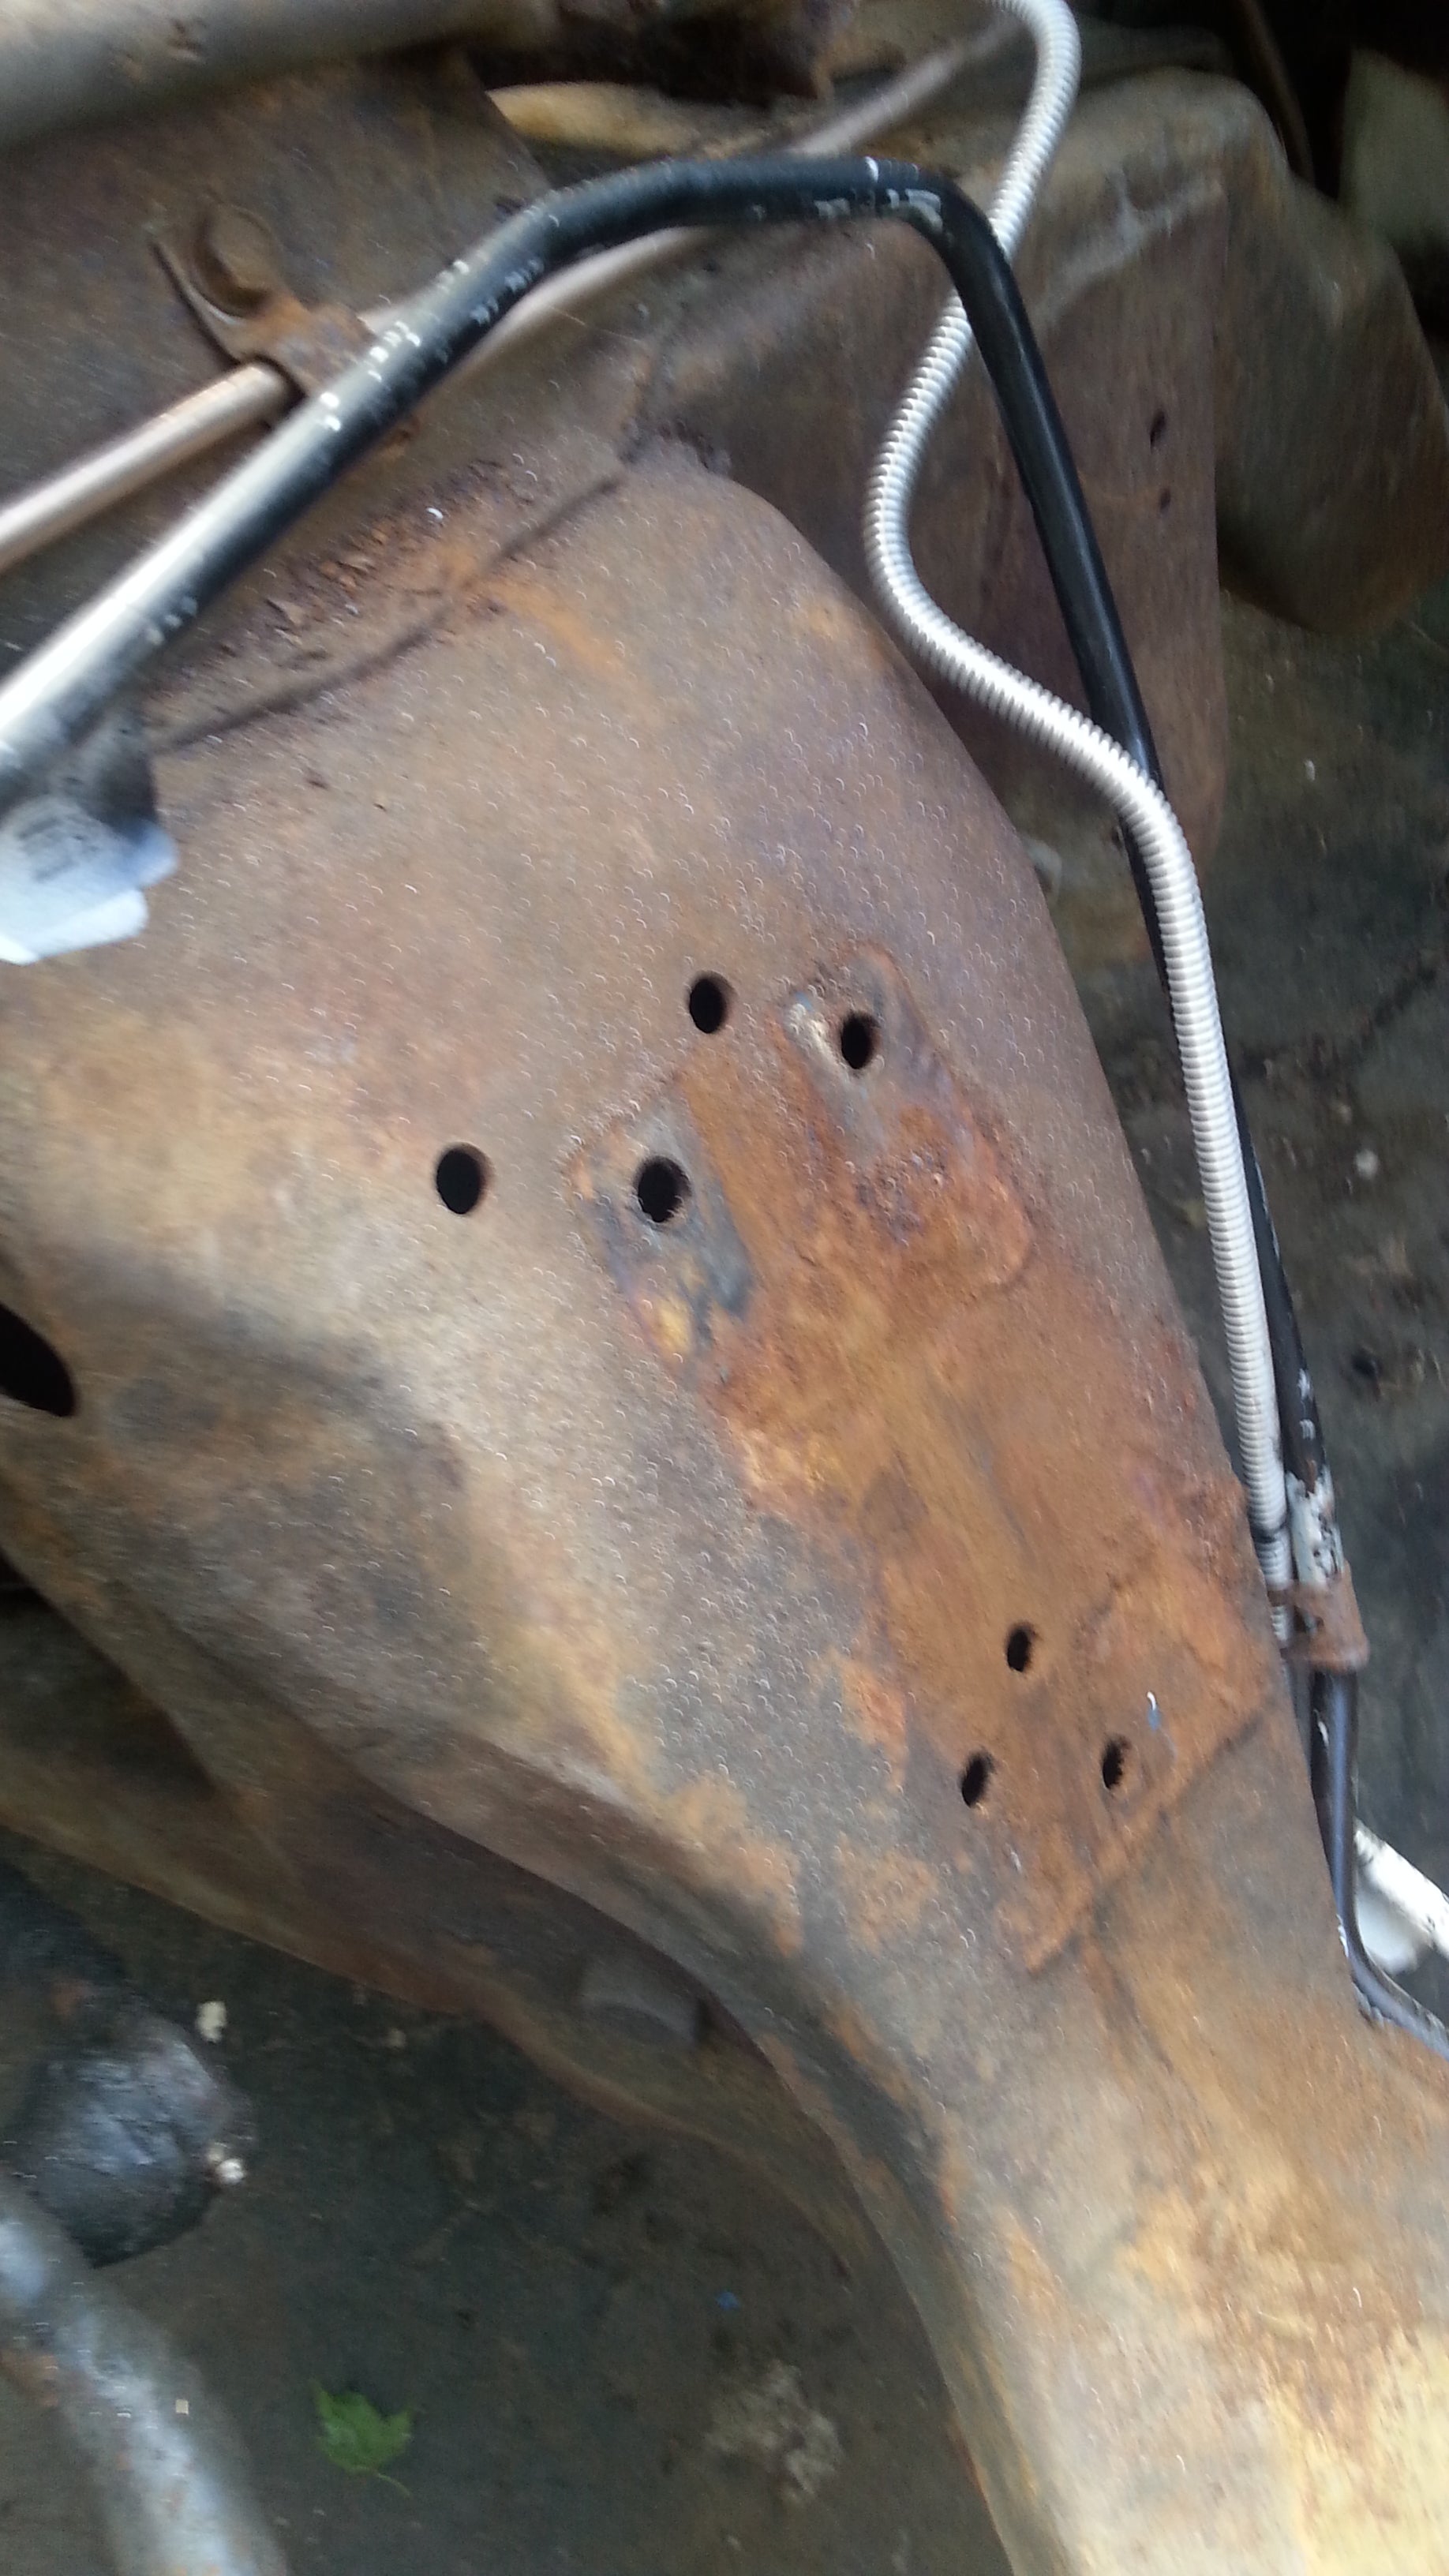
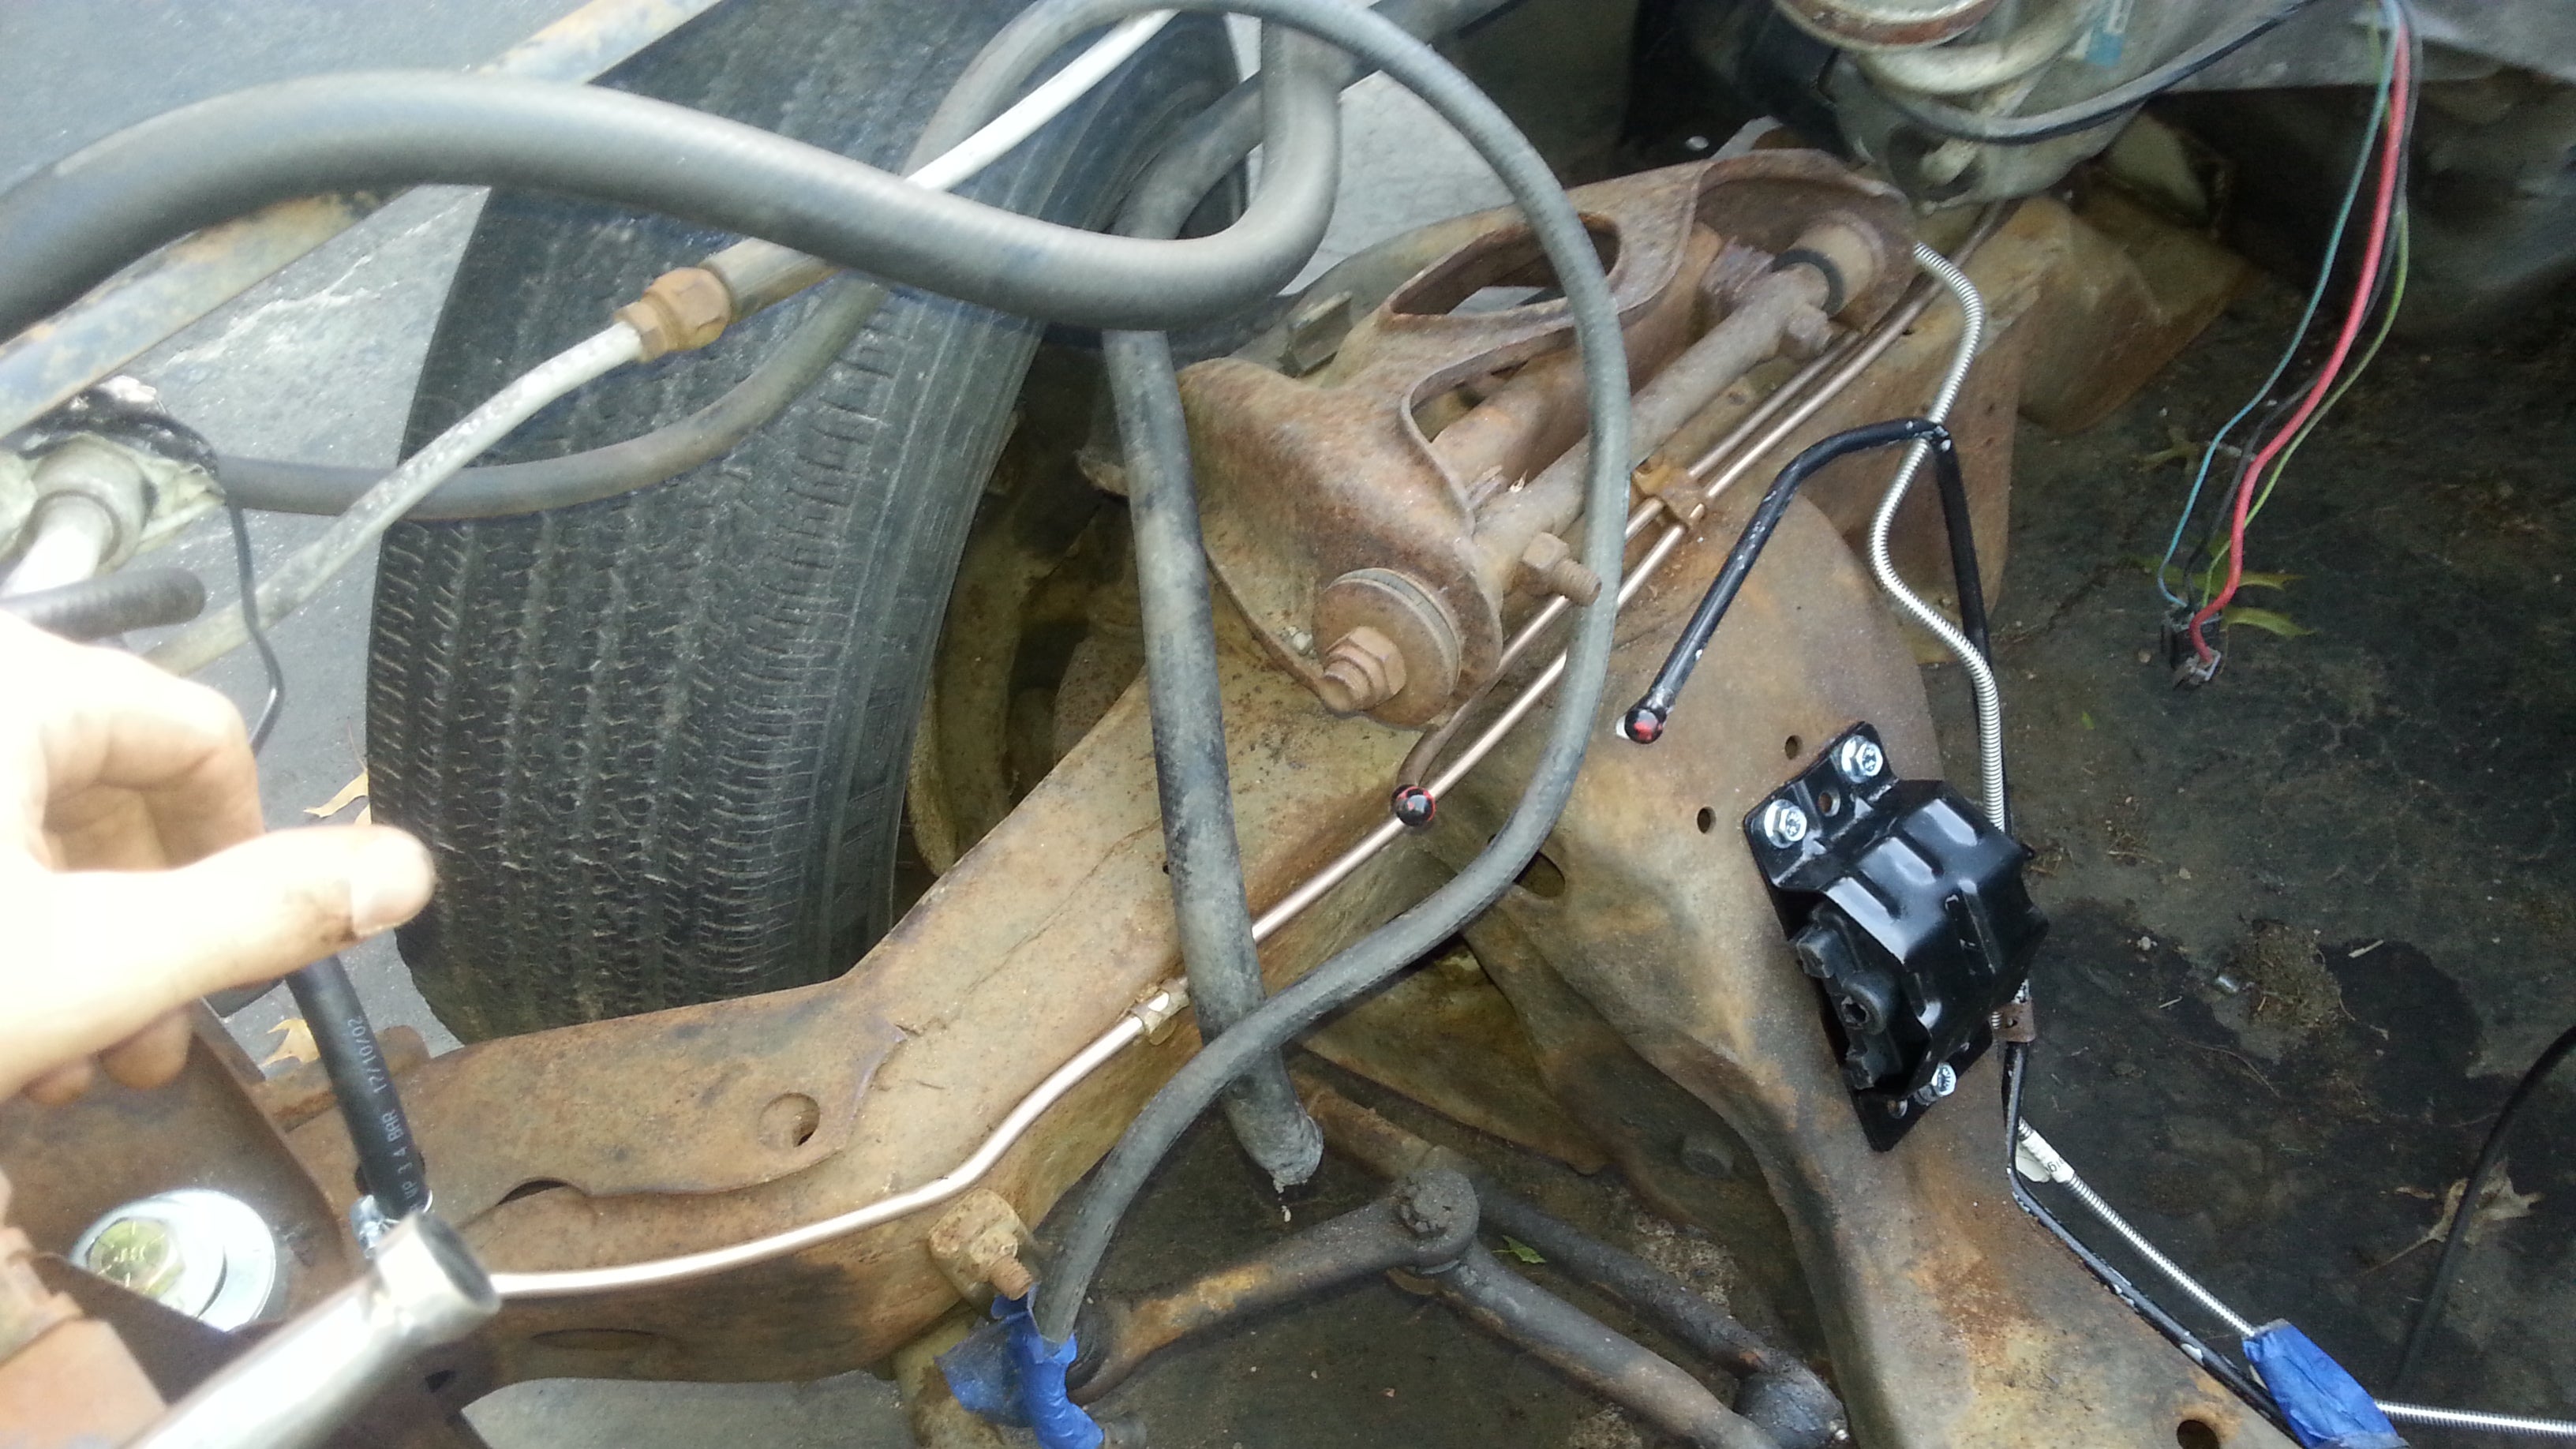
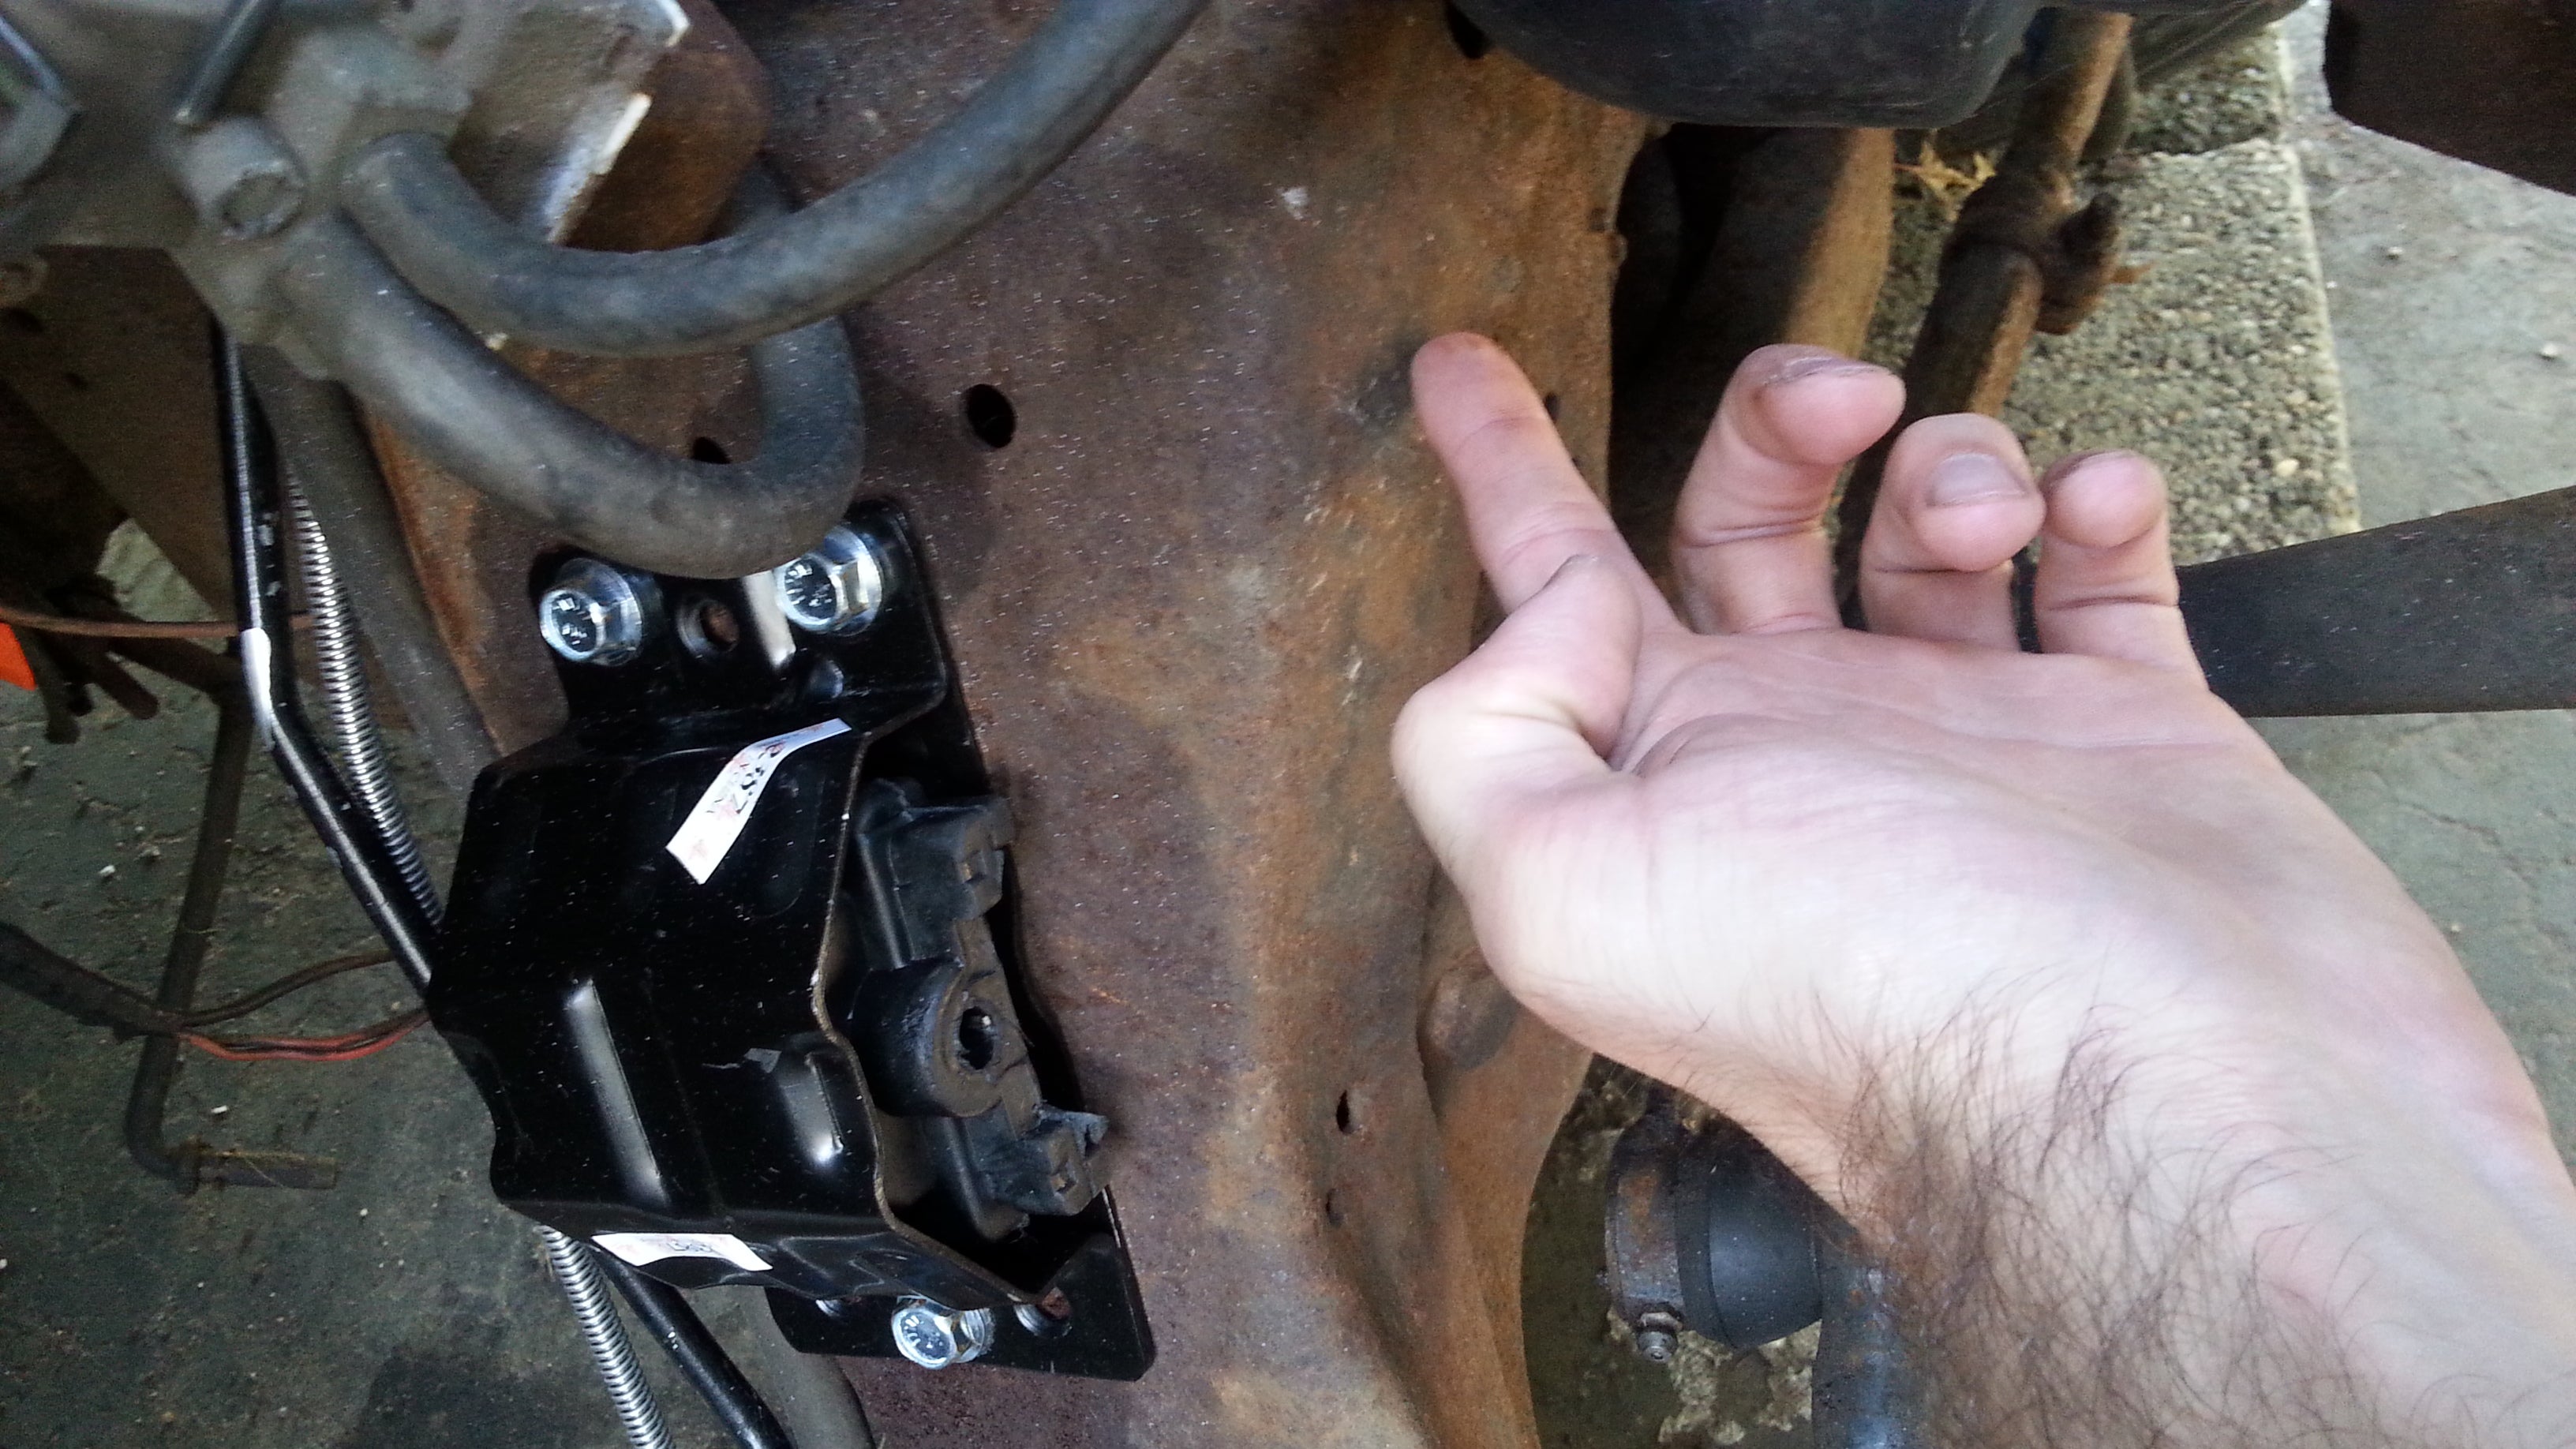
There appears to be two sets of holes drilled for the mounts, my car has the oldsmobile and thus uses the lower, offset mounts.
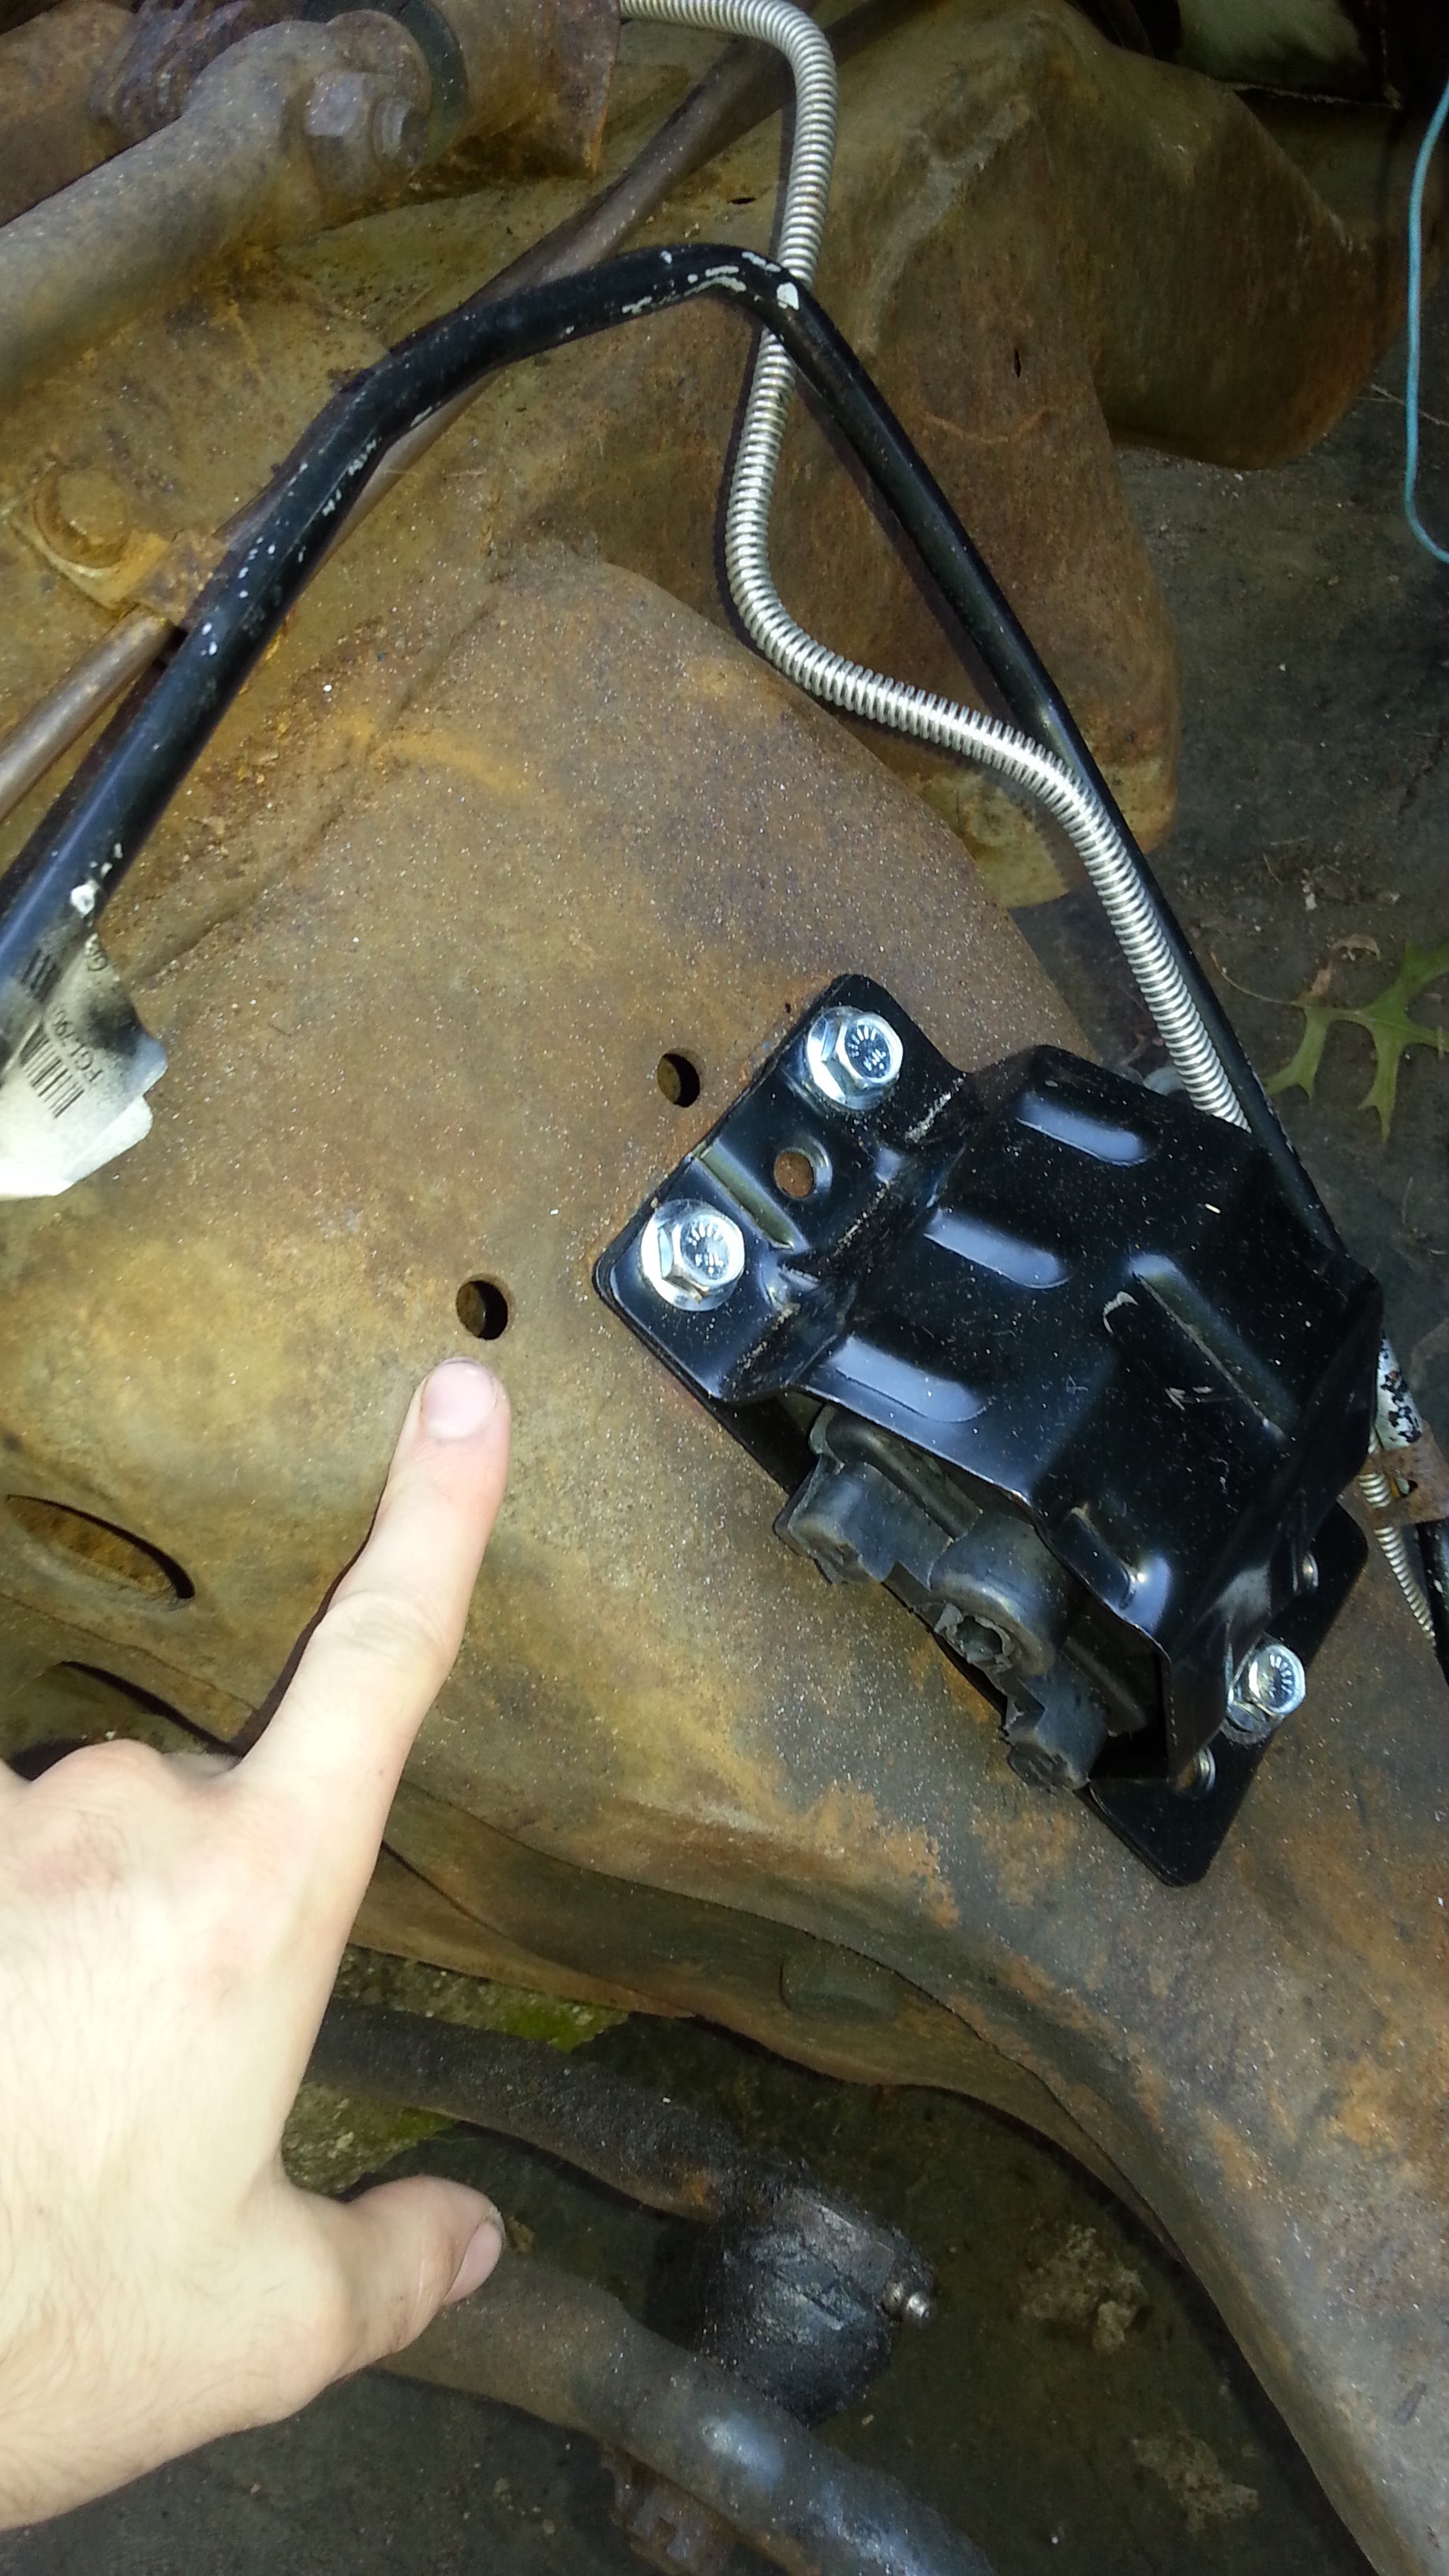
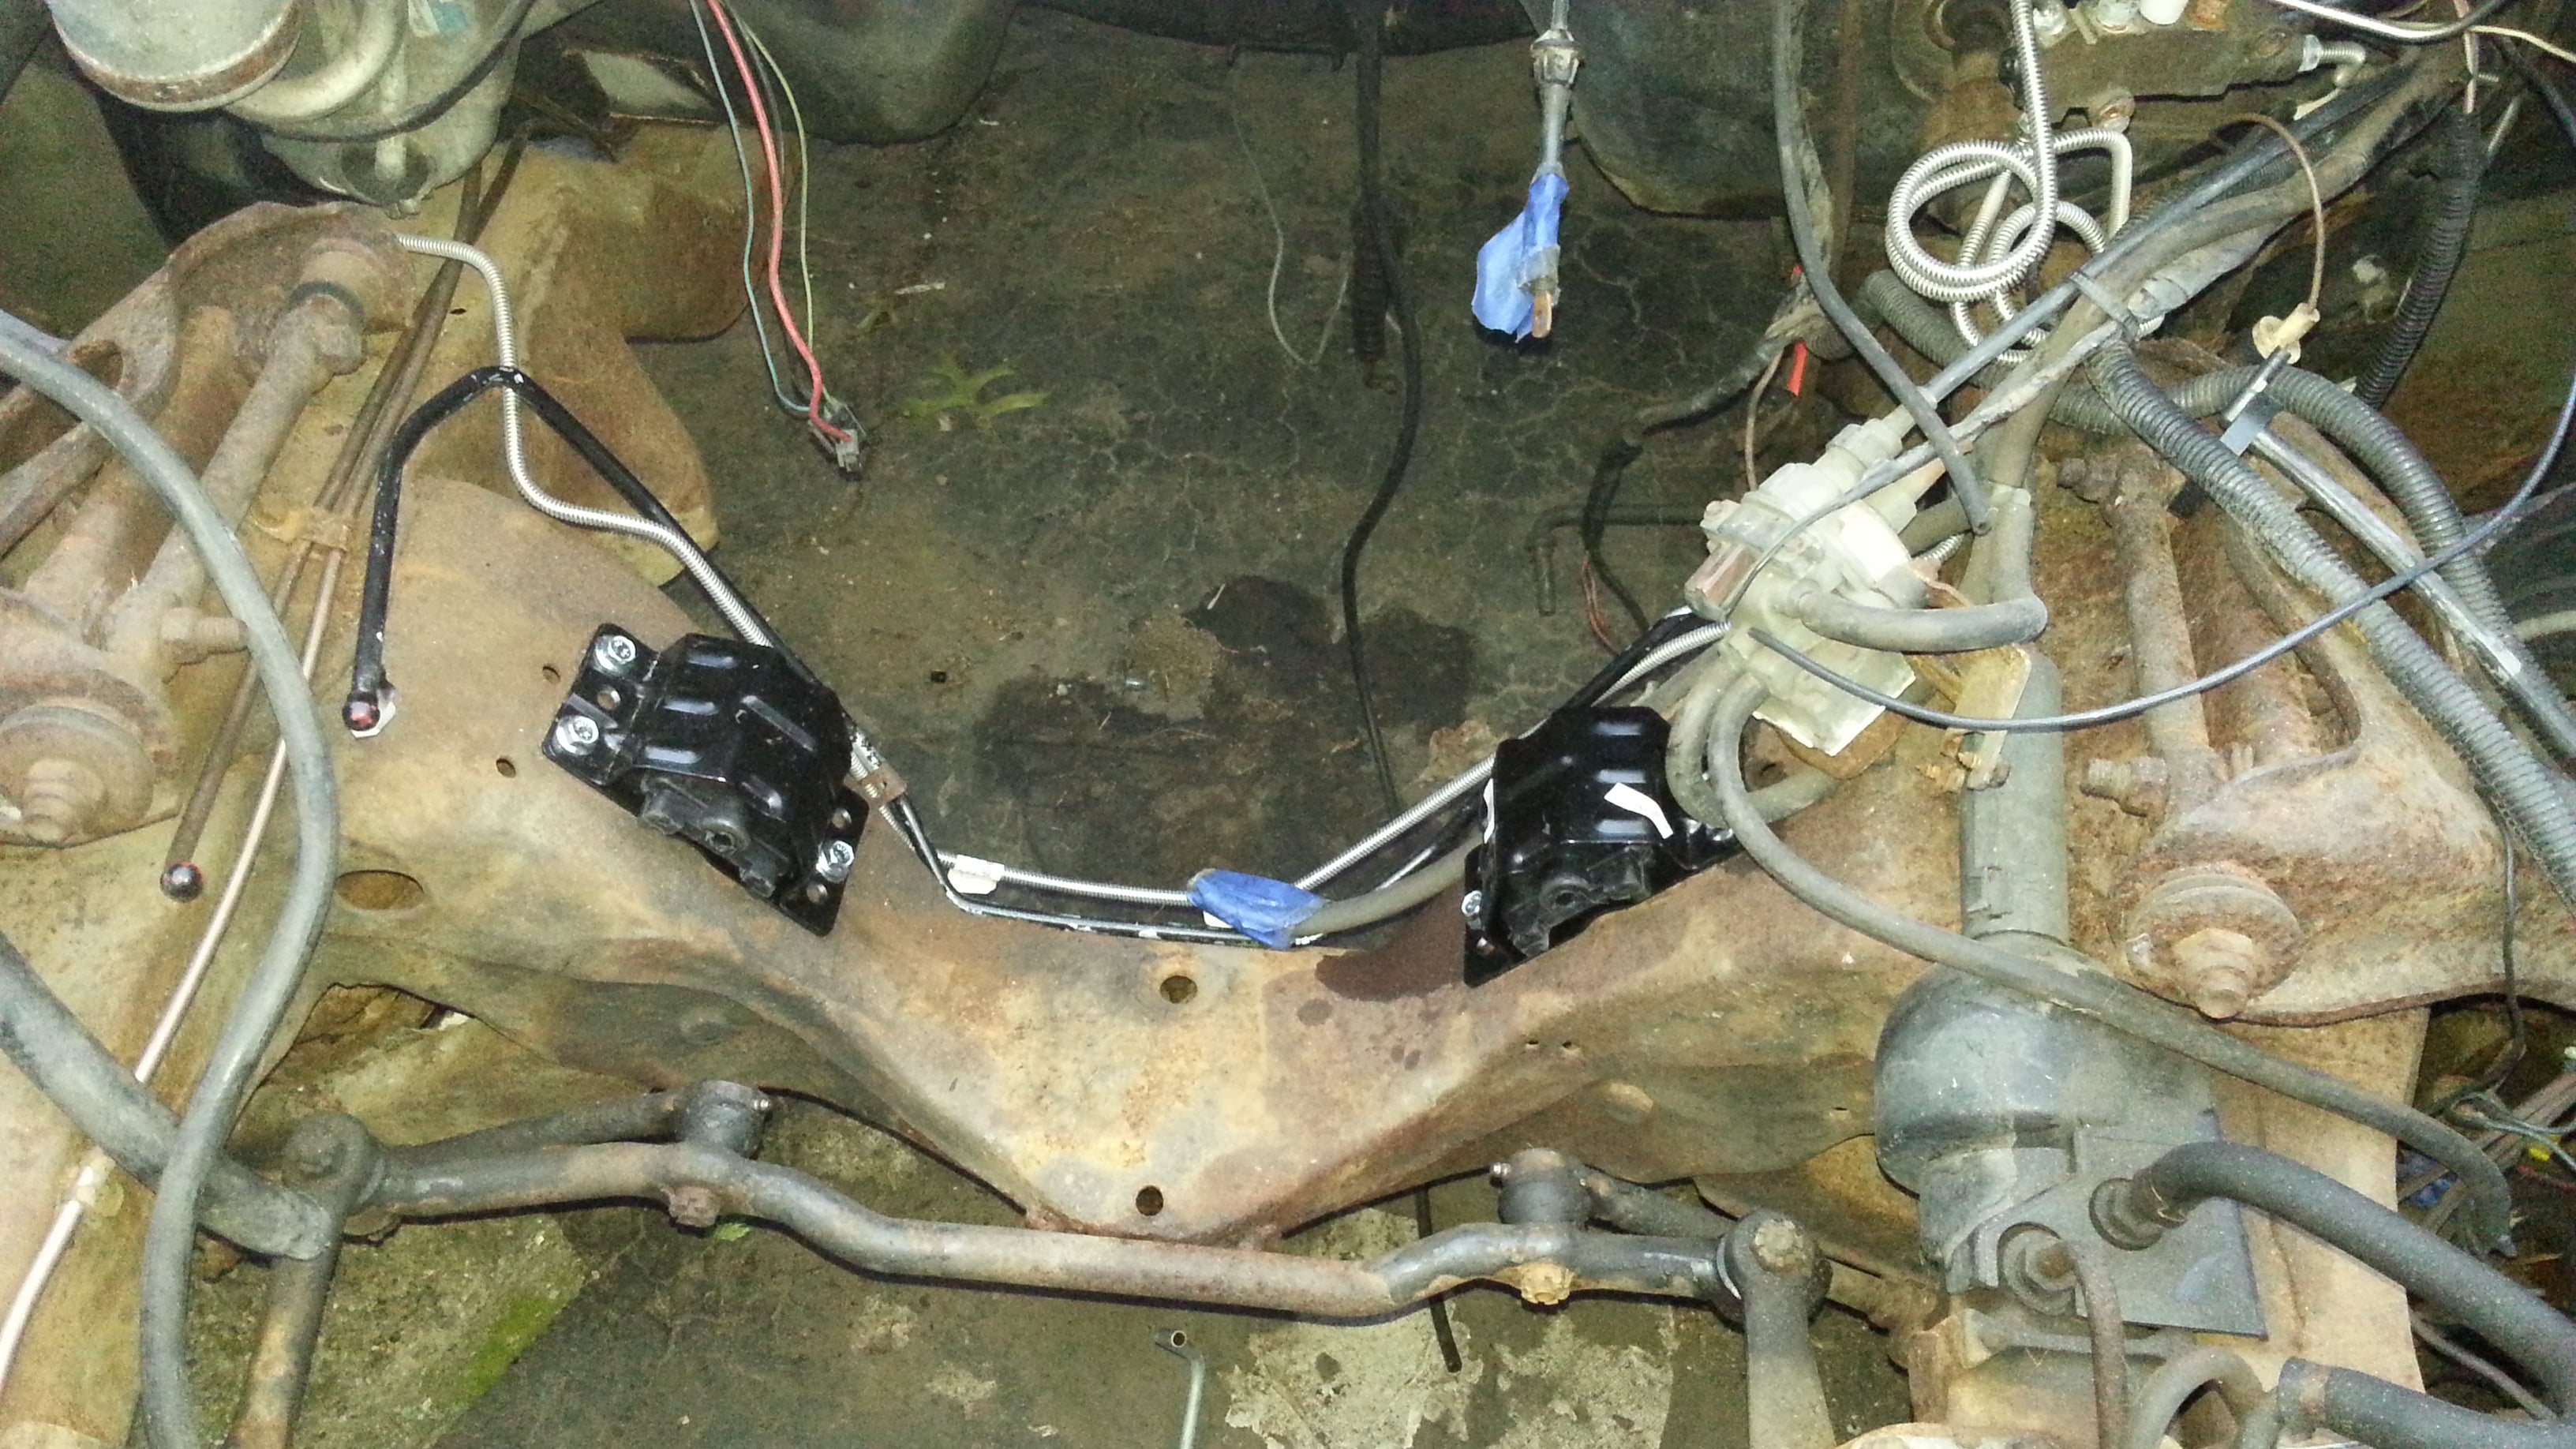
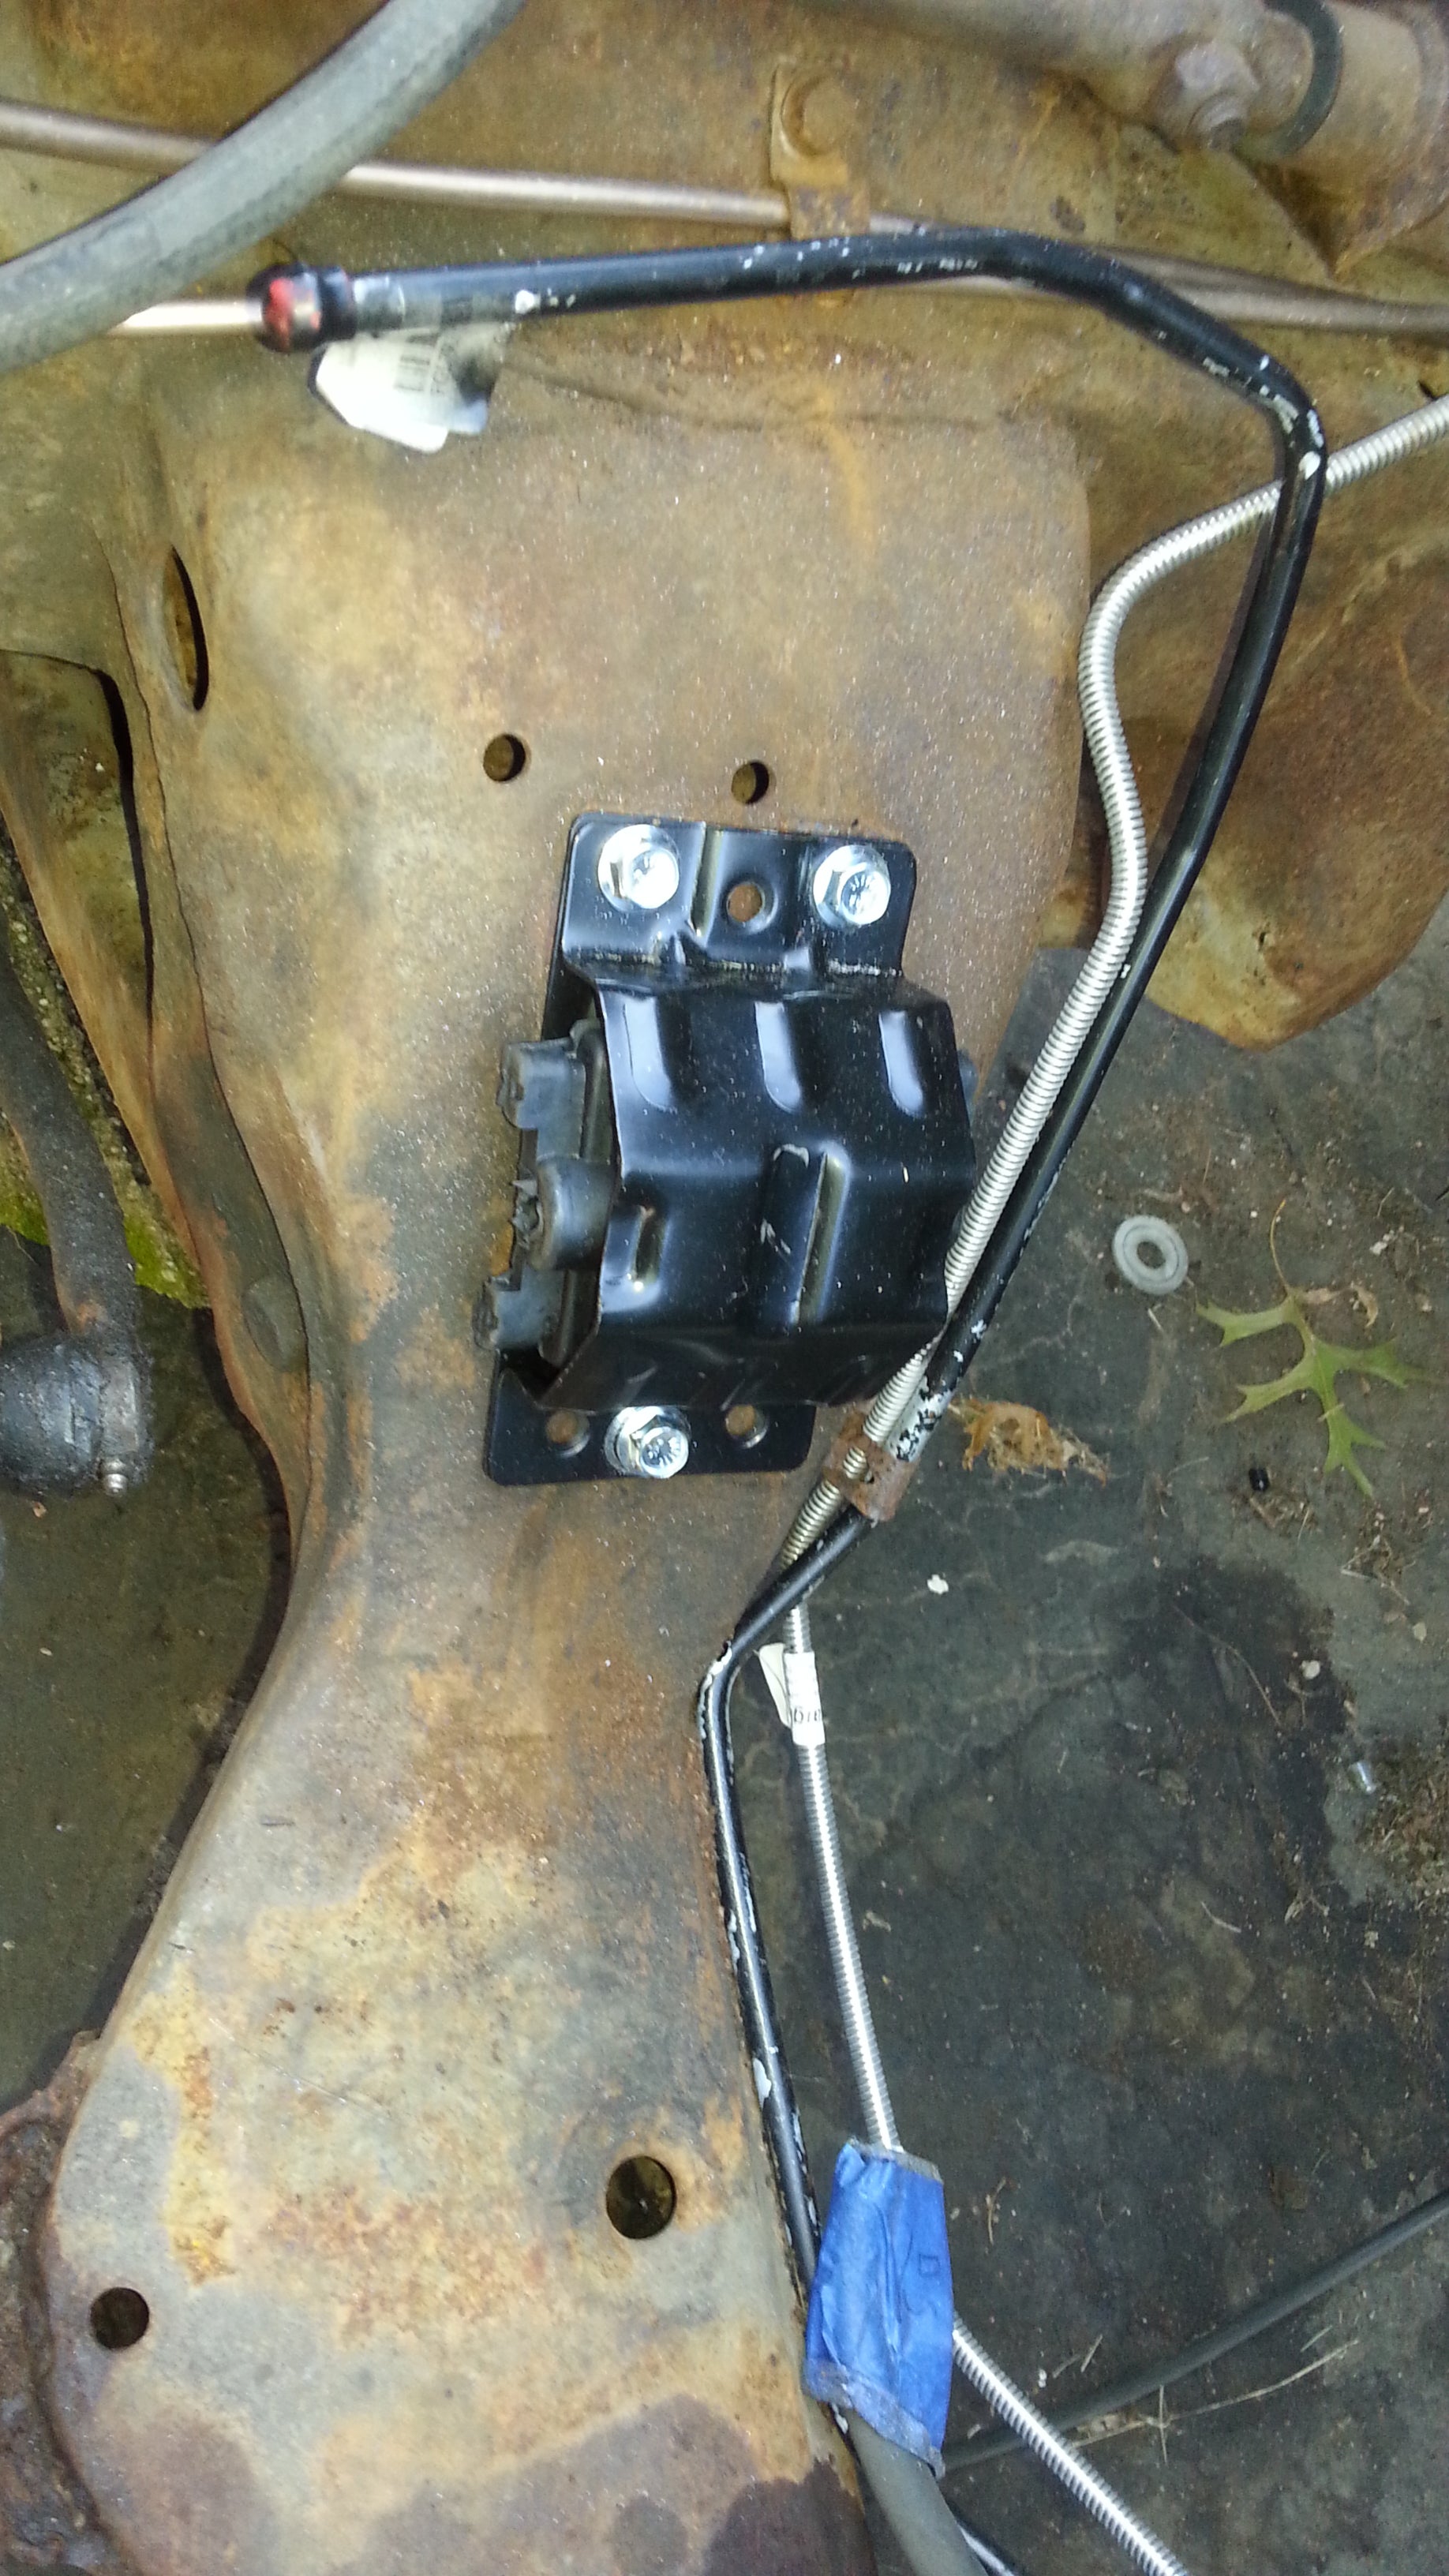
You want the motor mount with the slotted single bolt hole facing downward, and the two larger holes upward.
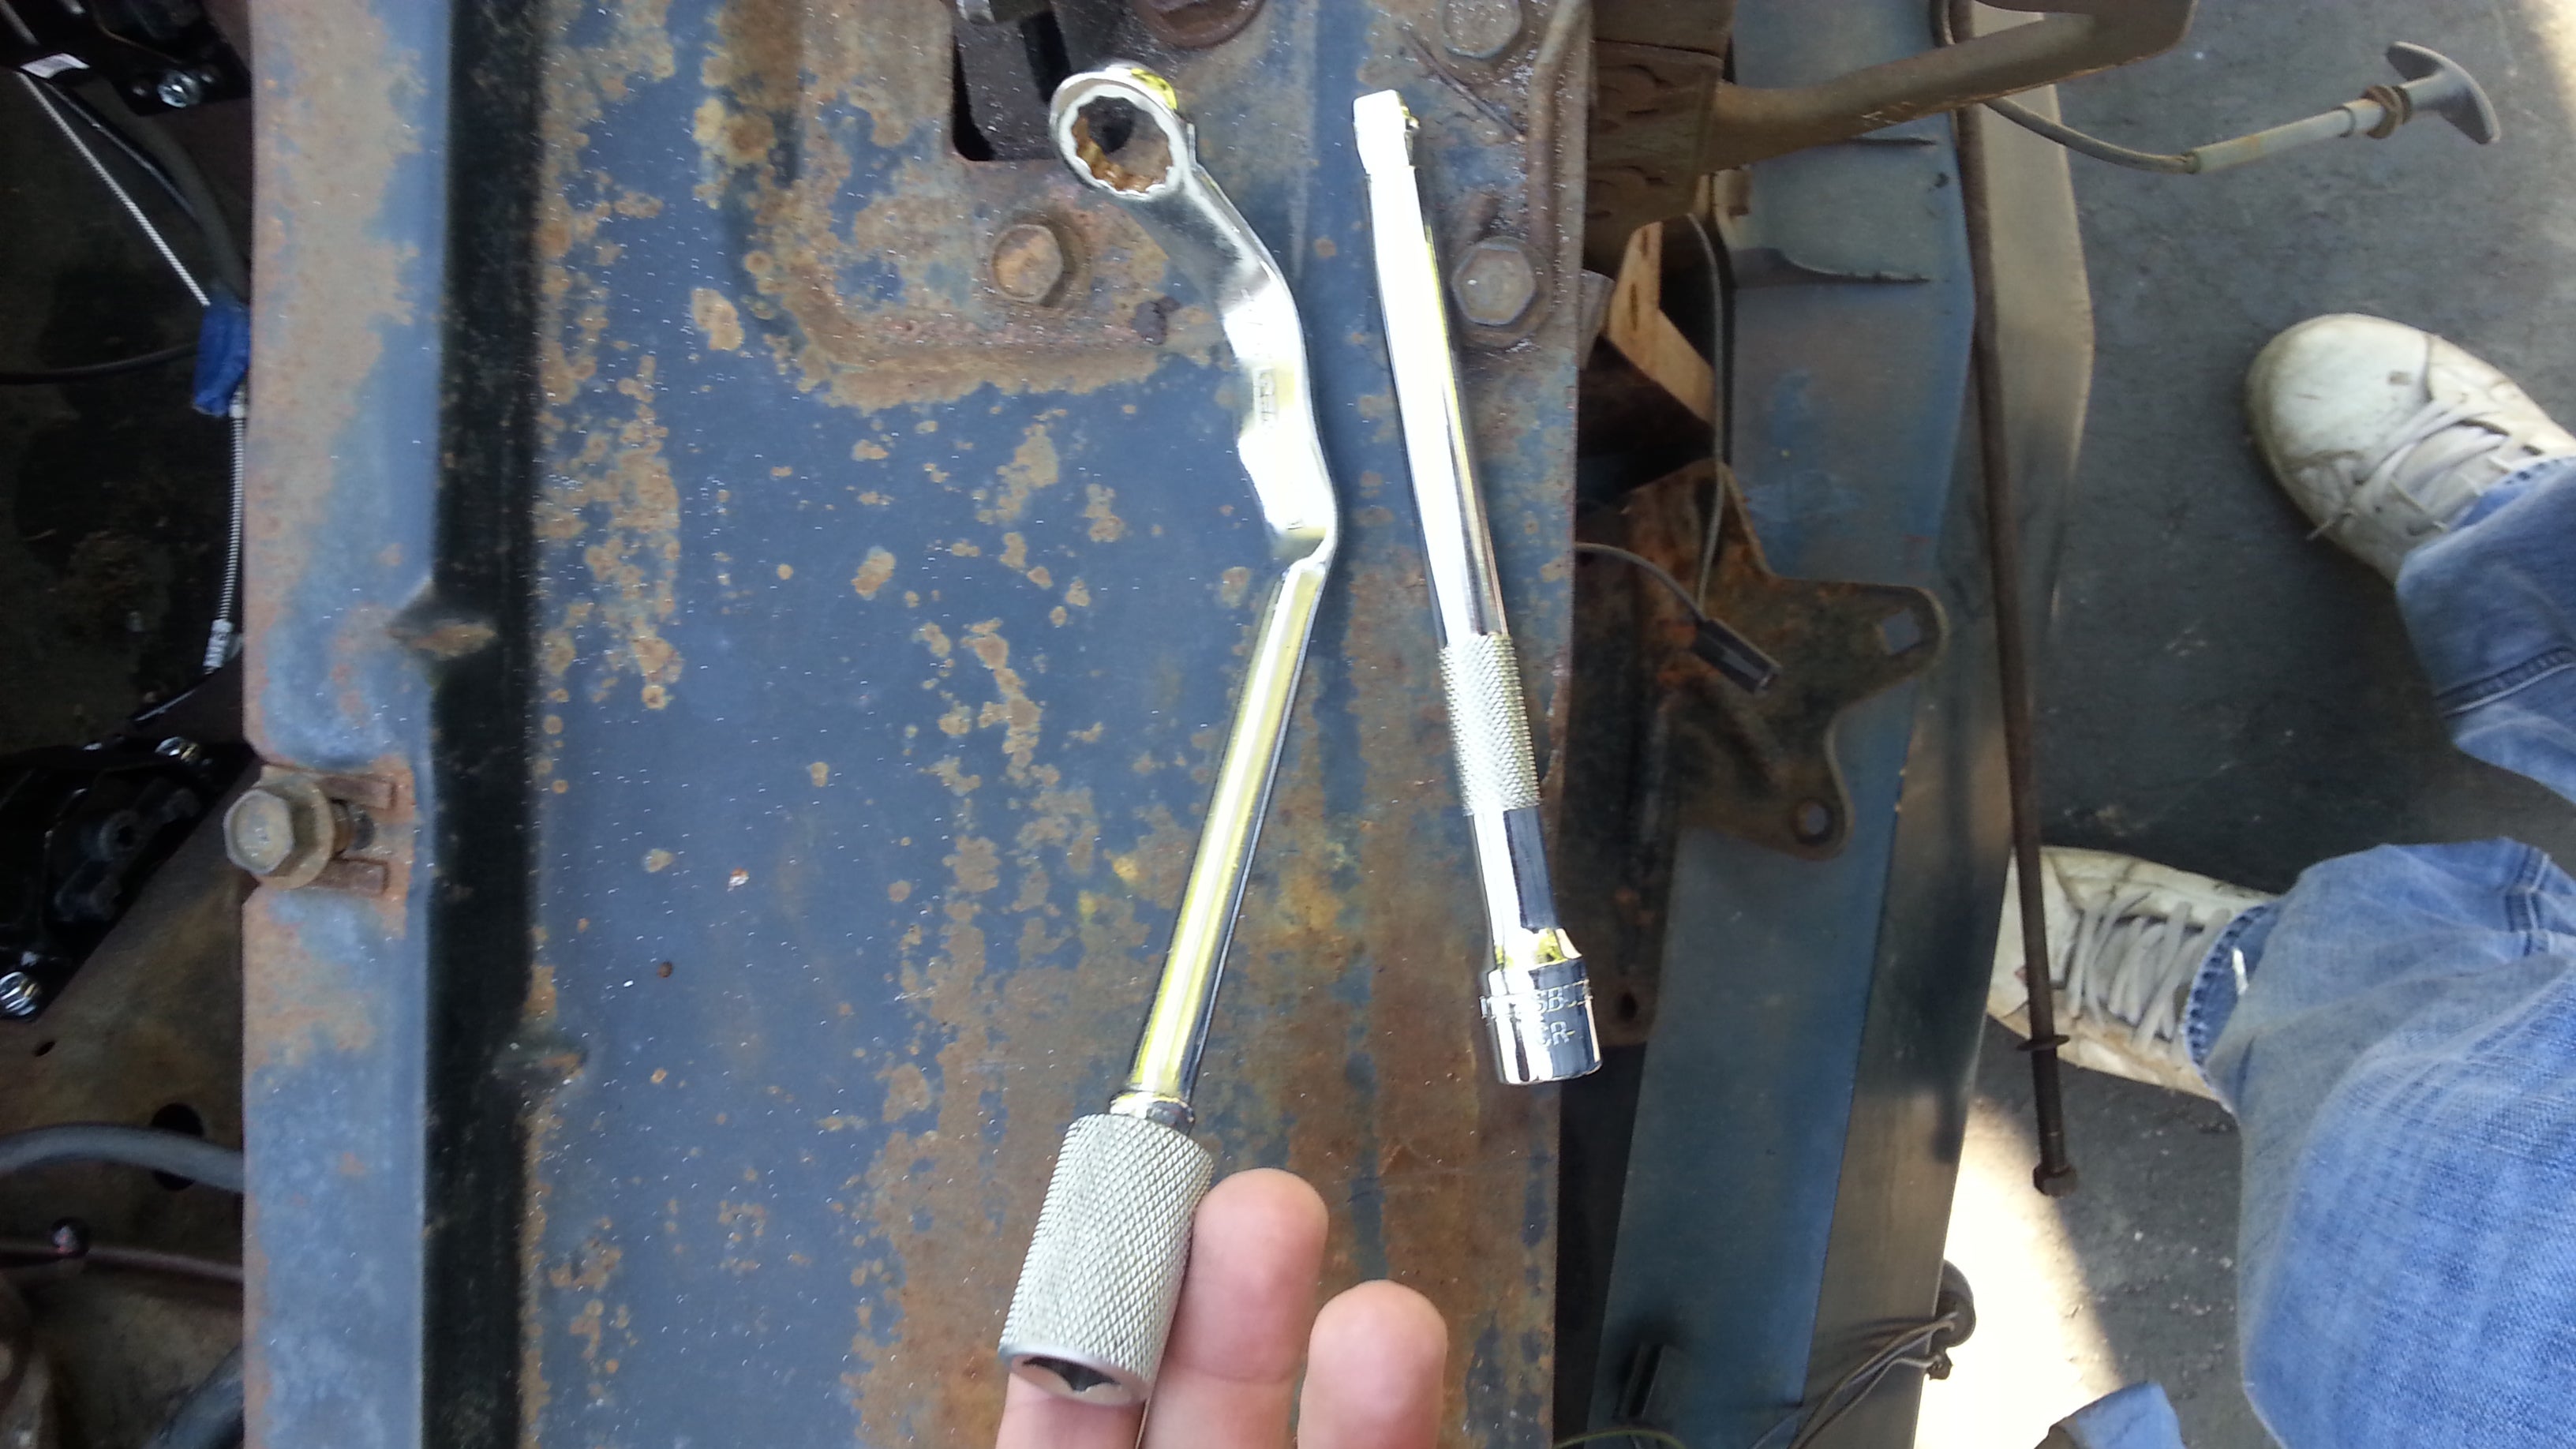
These tools: just go and buy them. on the left is a distributor wrench they sell at autozone. The right is a wobble socket extension. You will need a decent bit of extension for some of these.
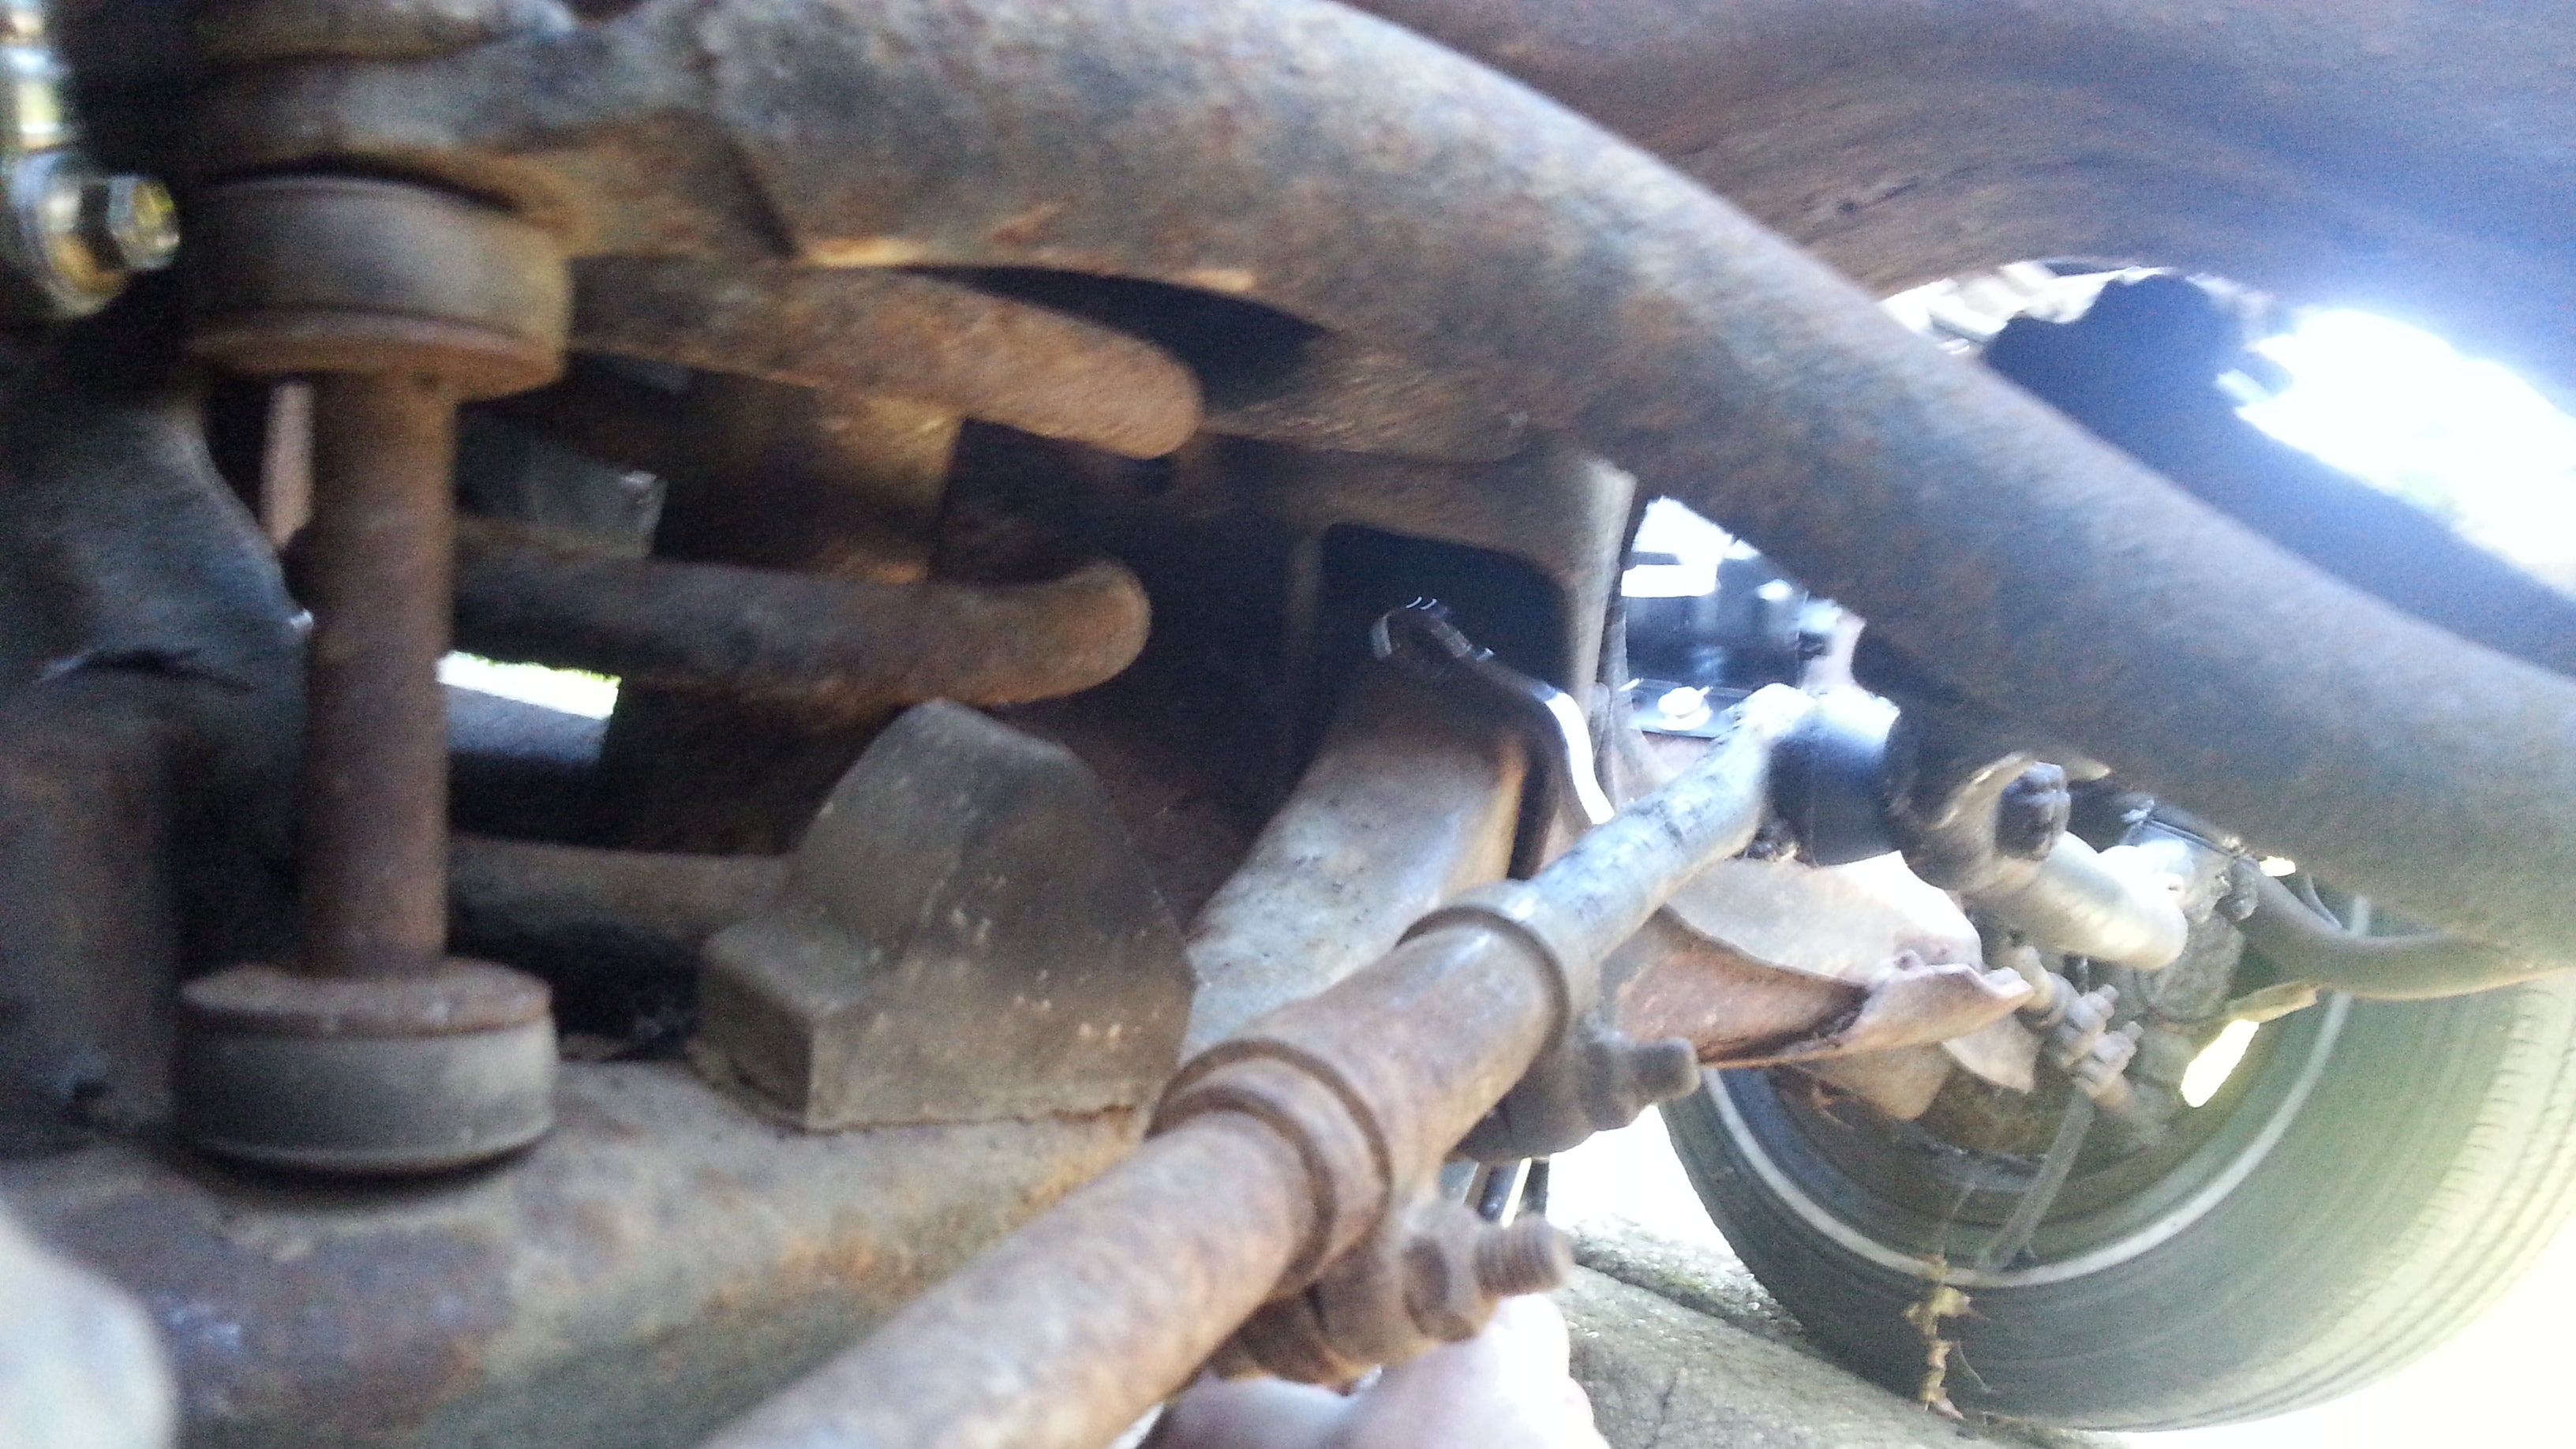
Two access points: above and below the lower control arm
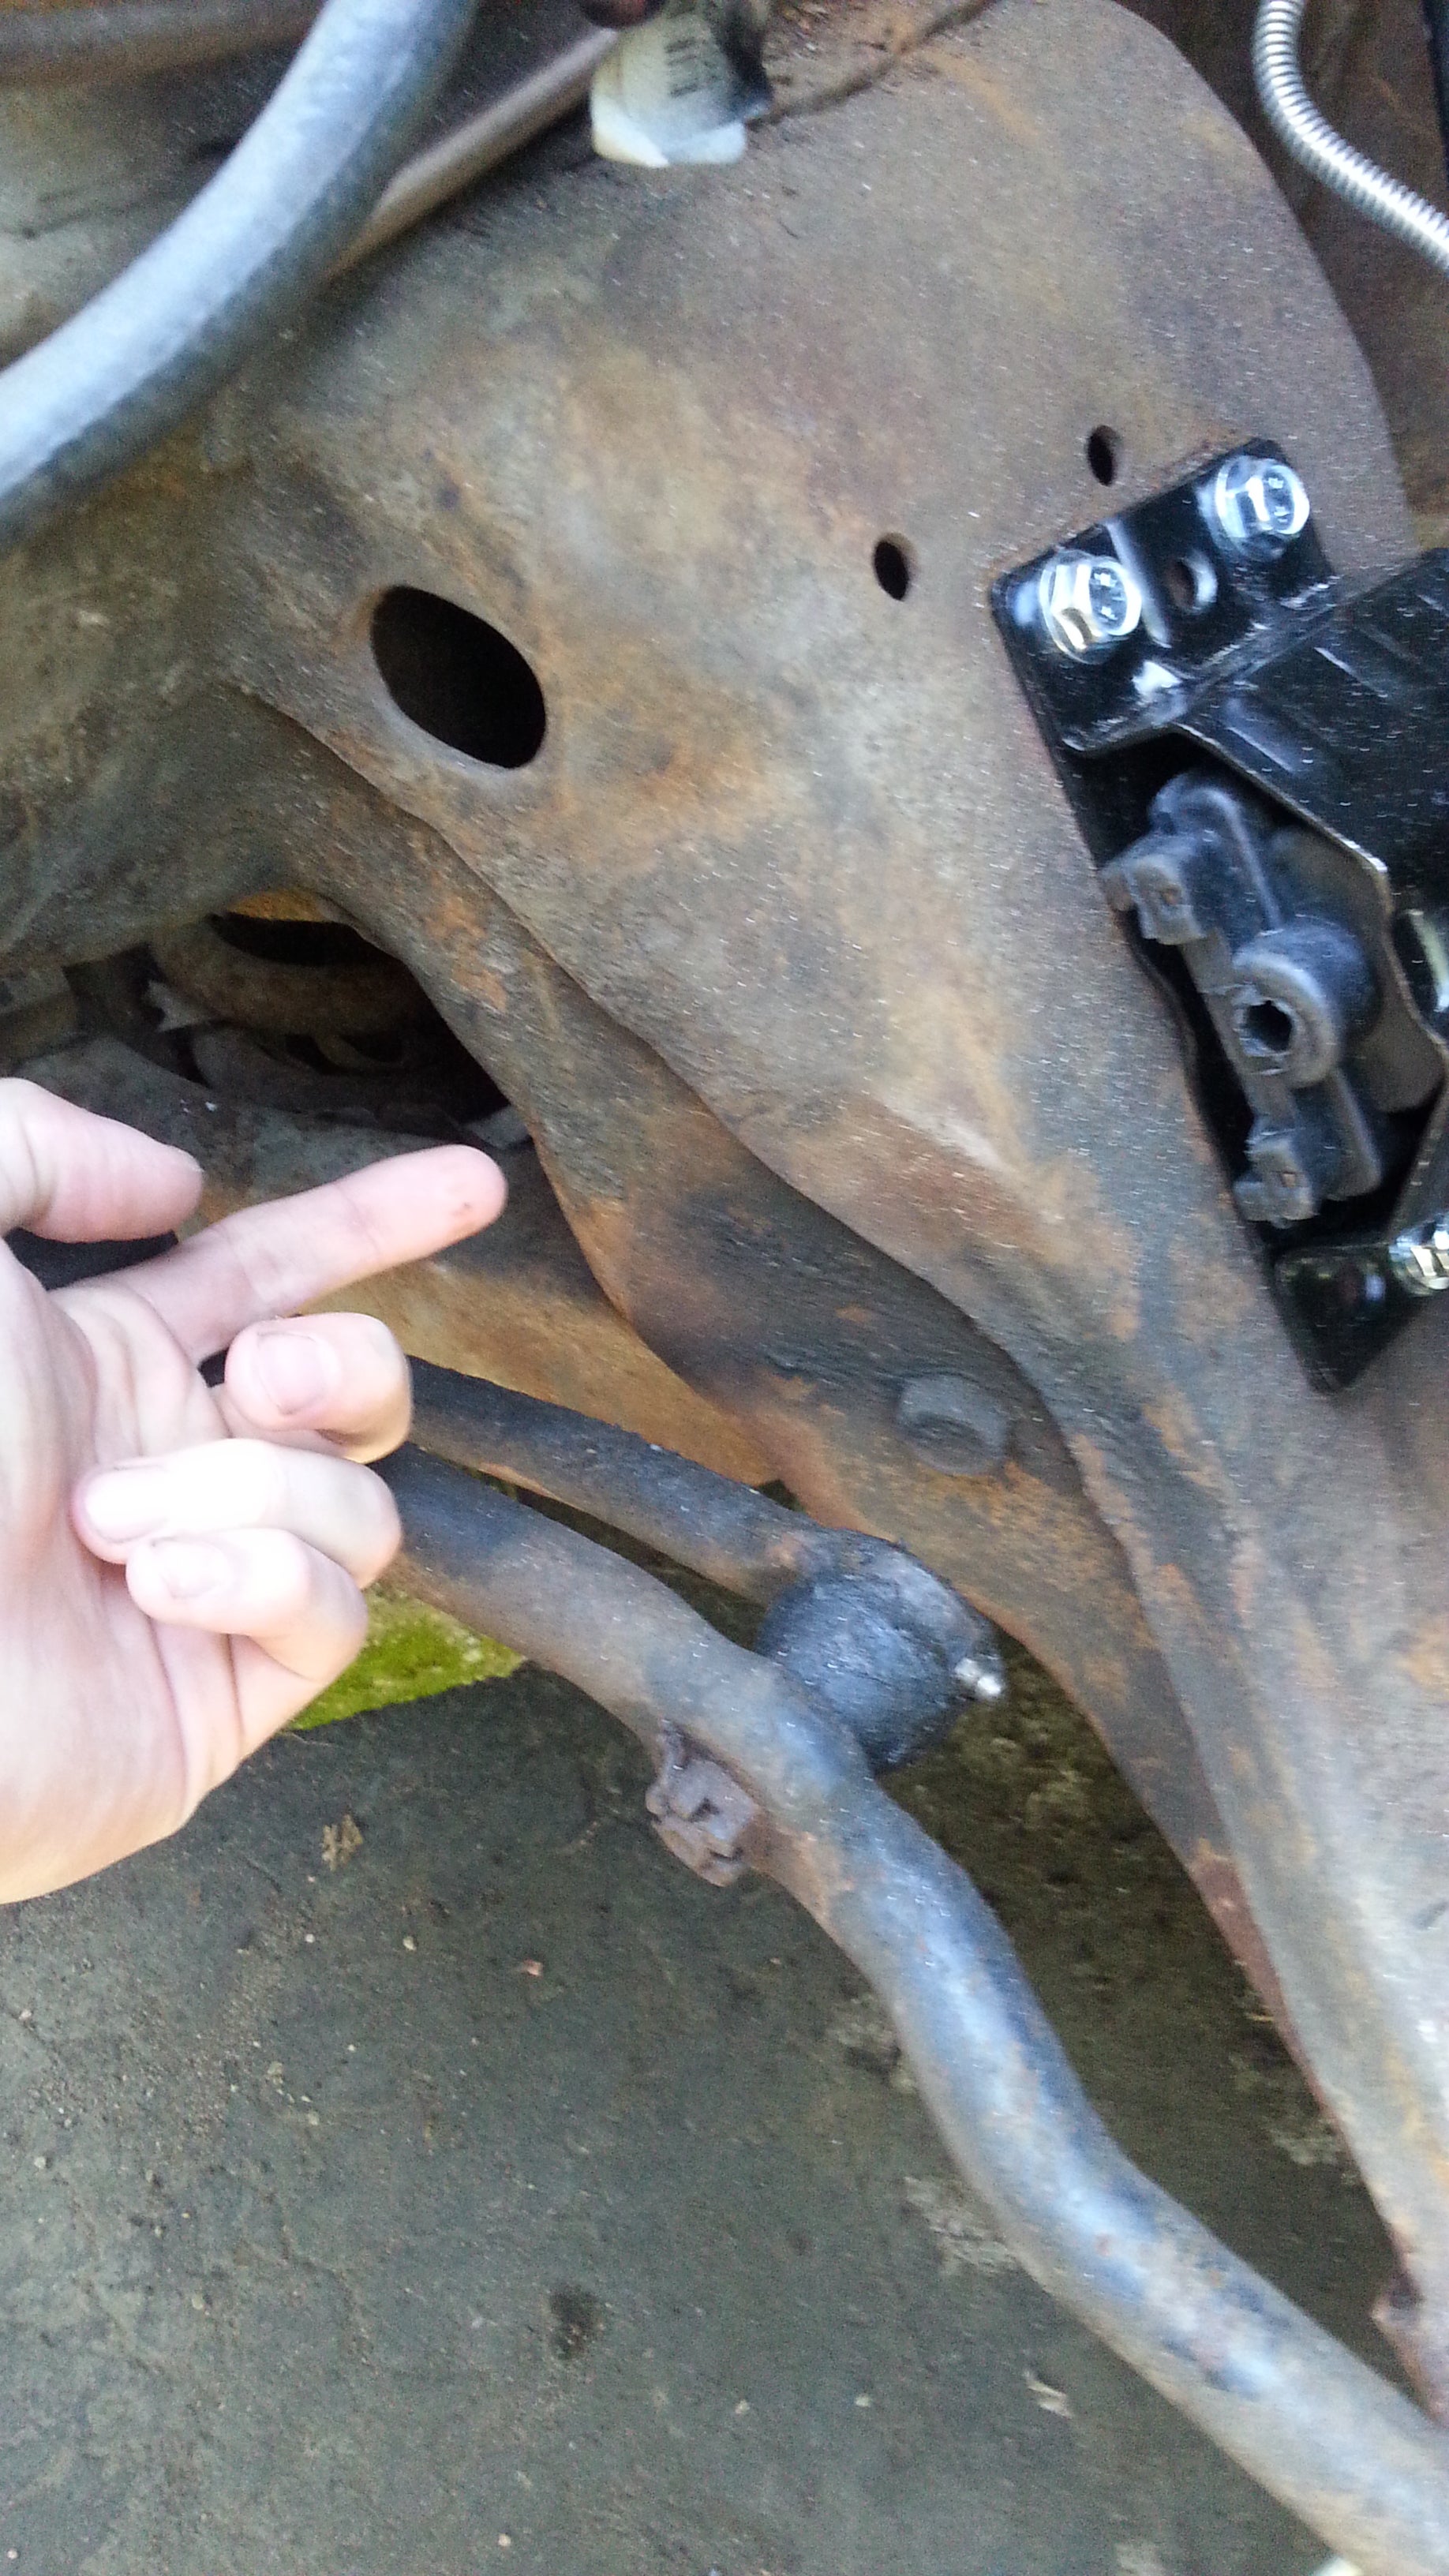
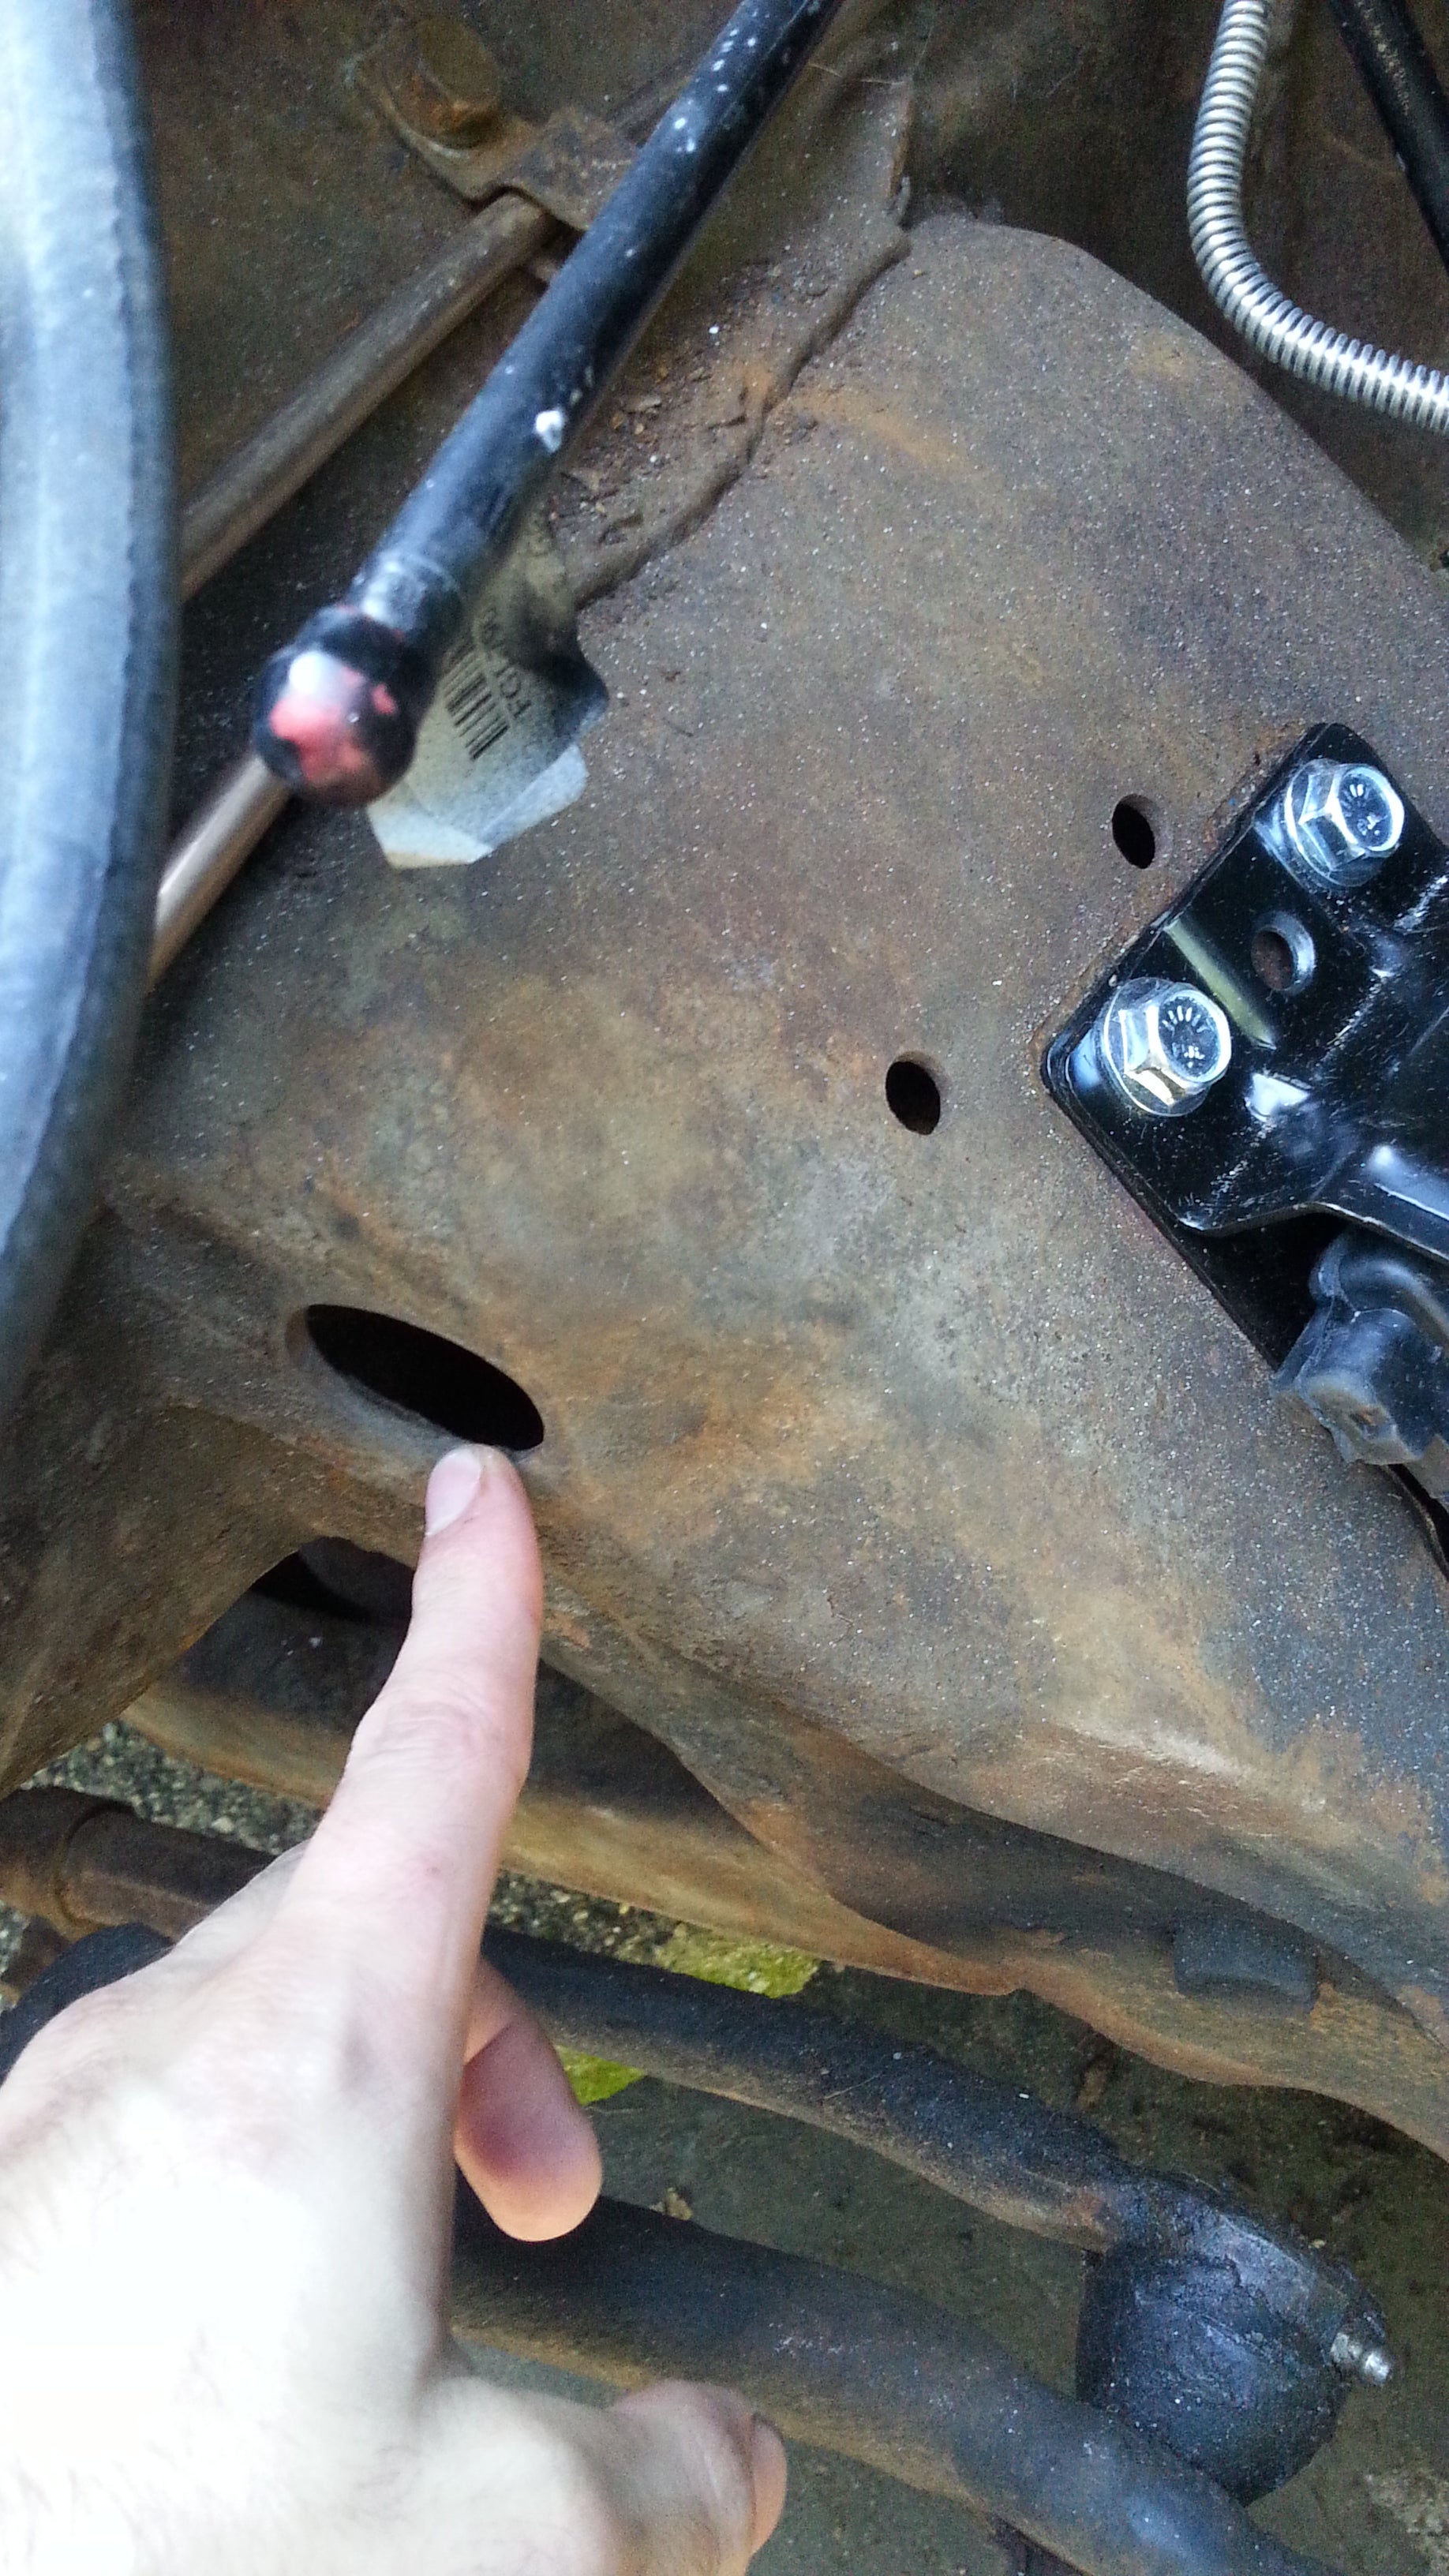
I recommend starting with the passenger side, as (at least on my car) it has two additional access holes on the sides that can make getting a nut on easier:

Turn the wheel all the way to the side you are working, to make extra room.
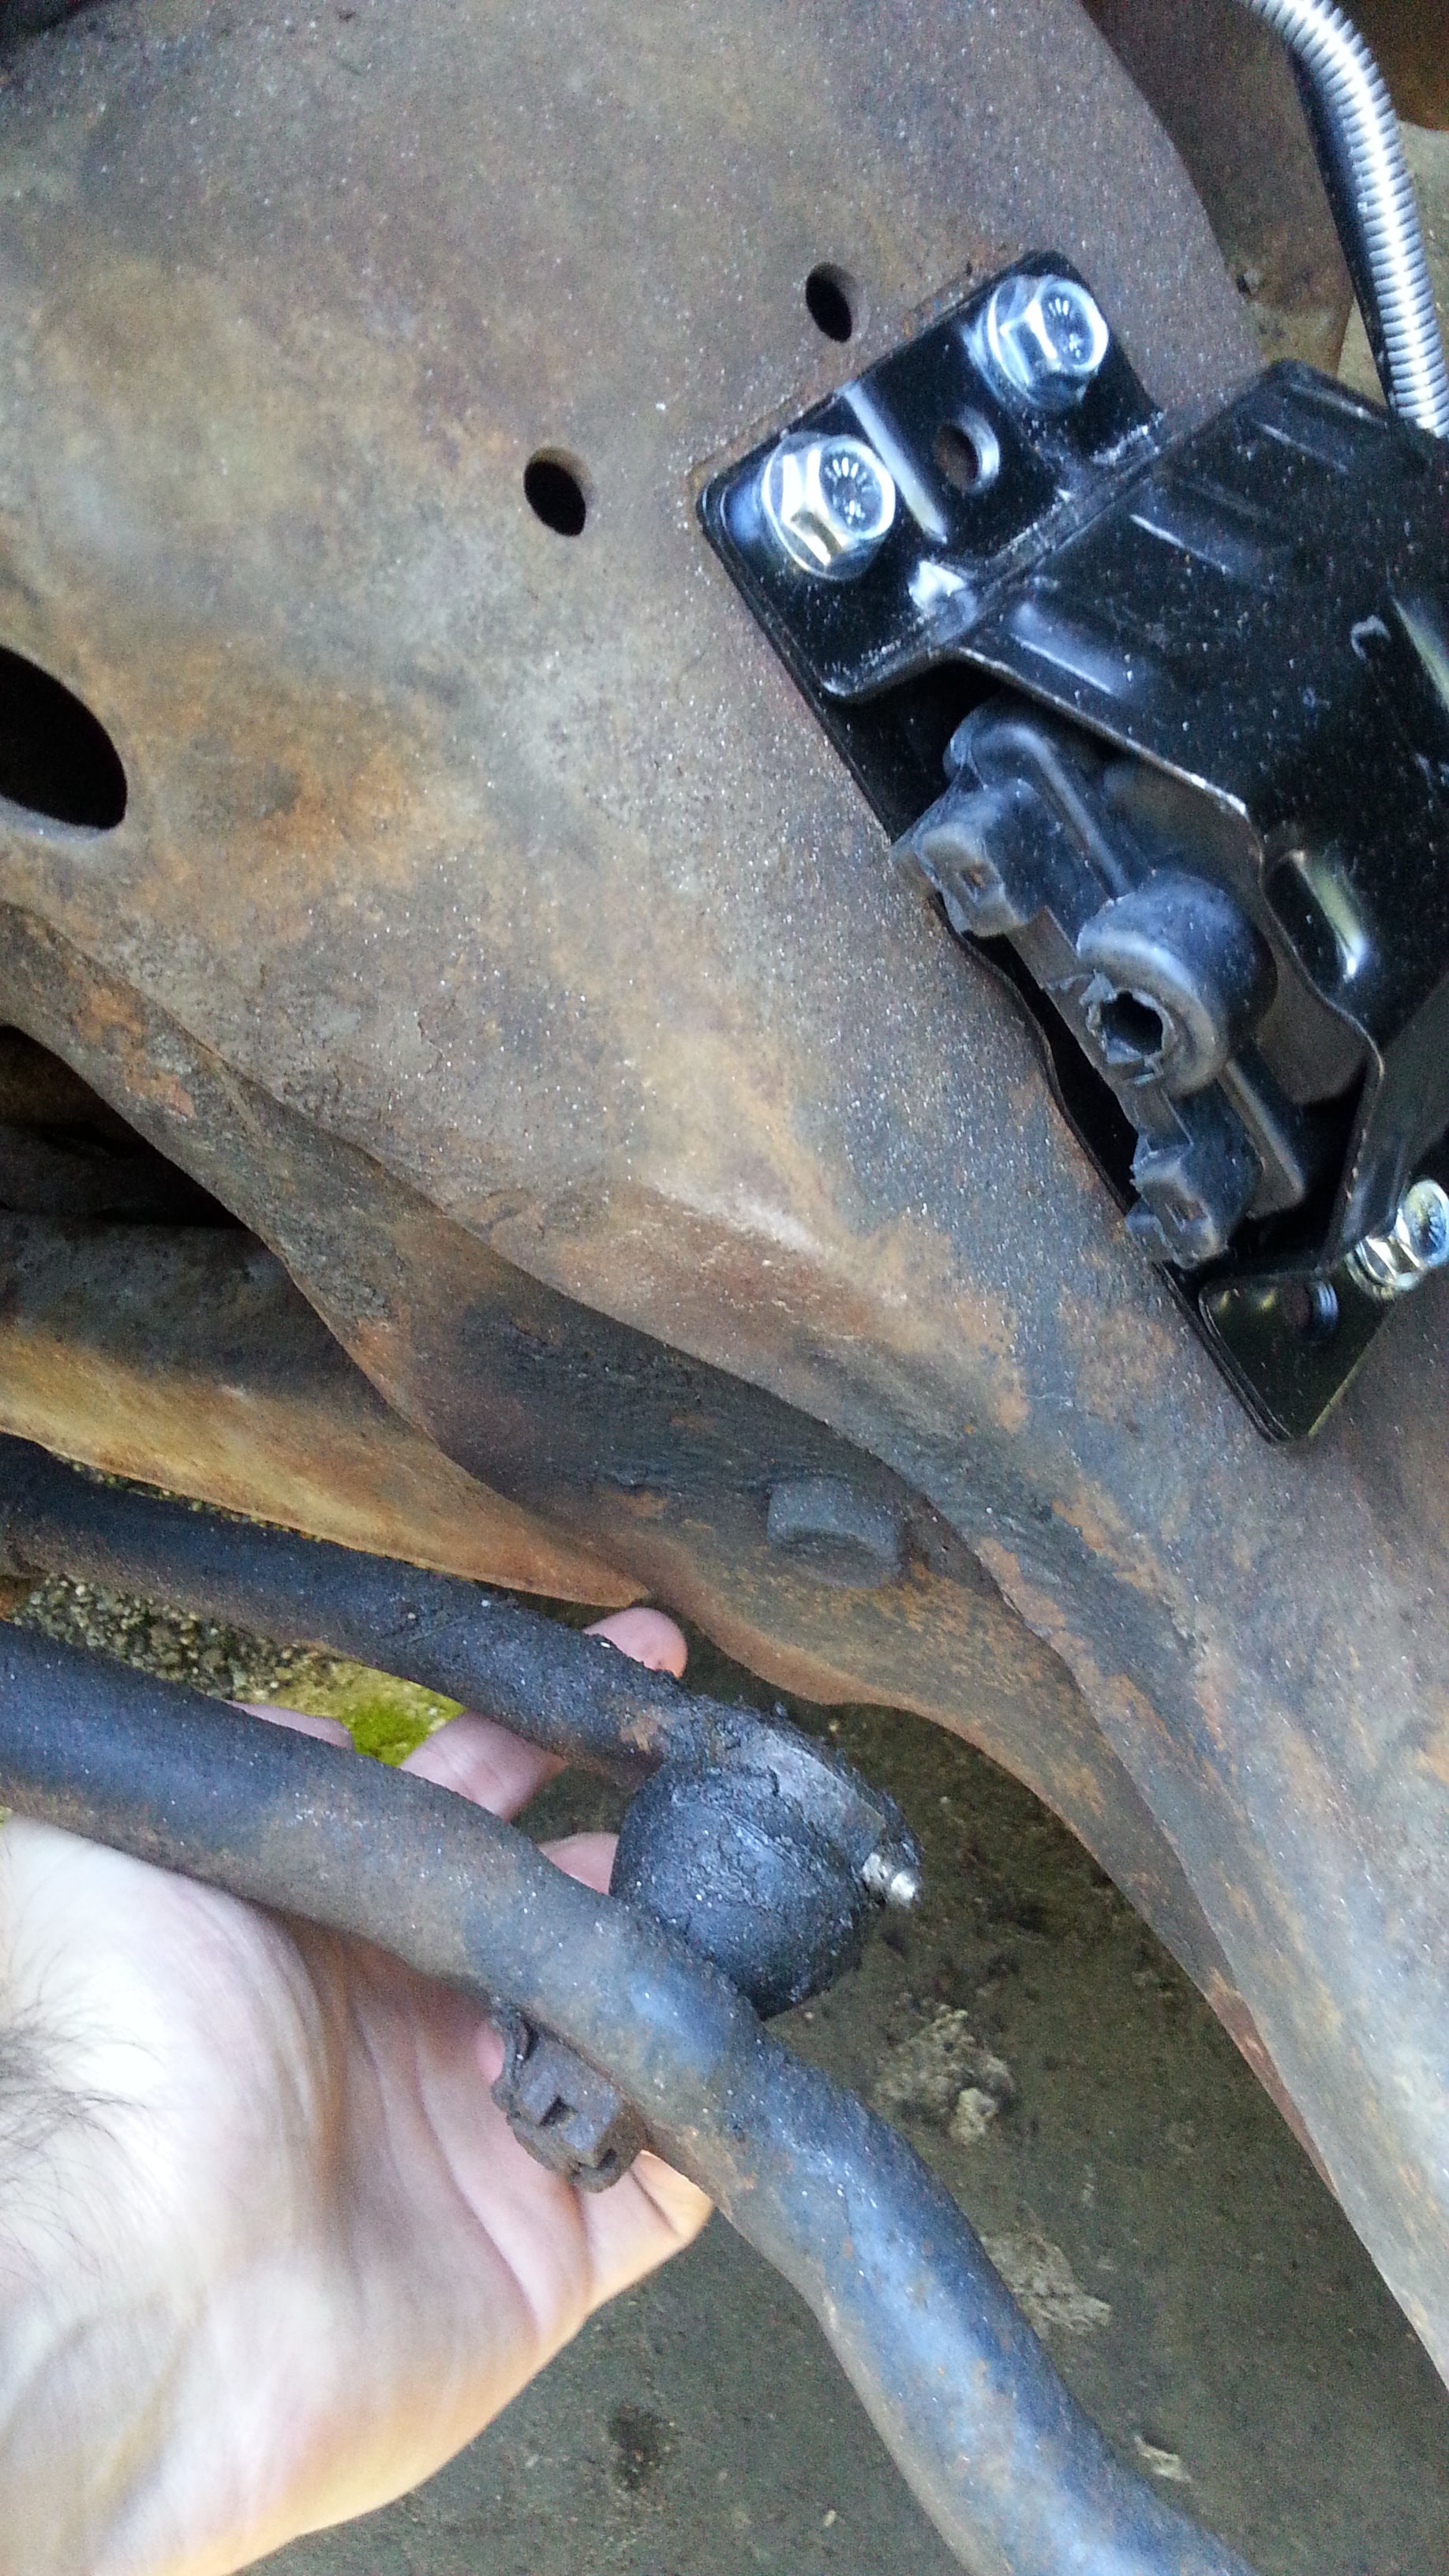
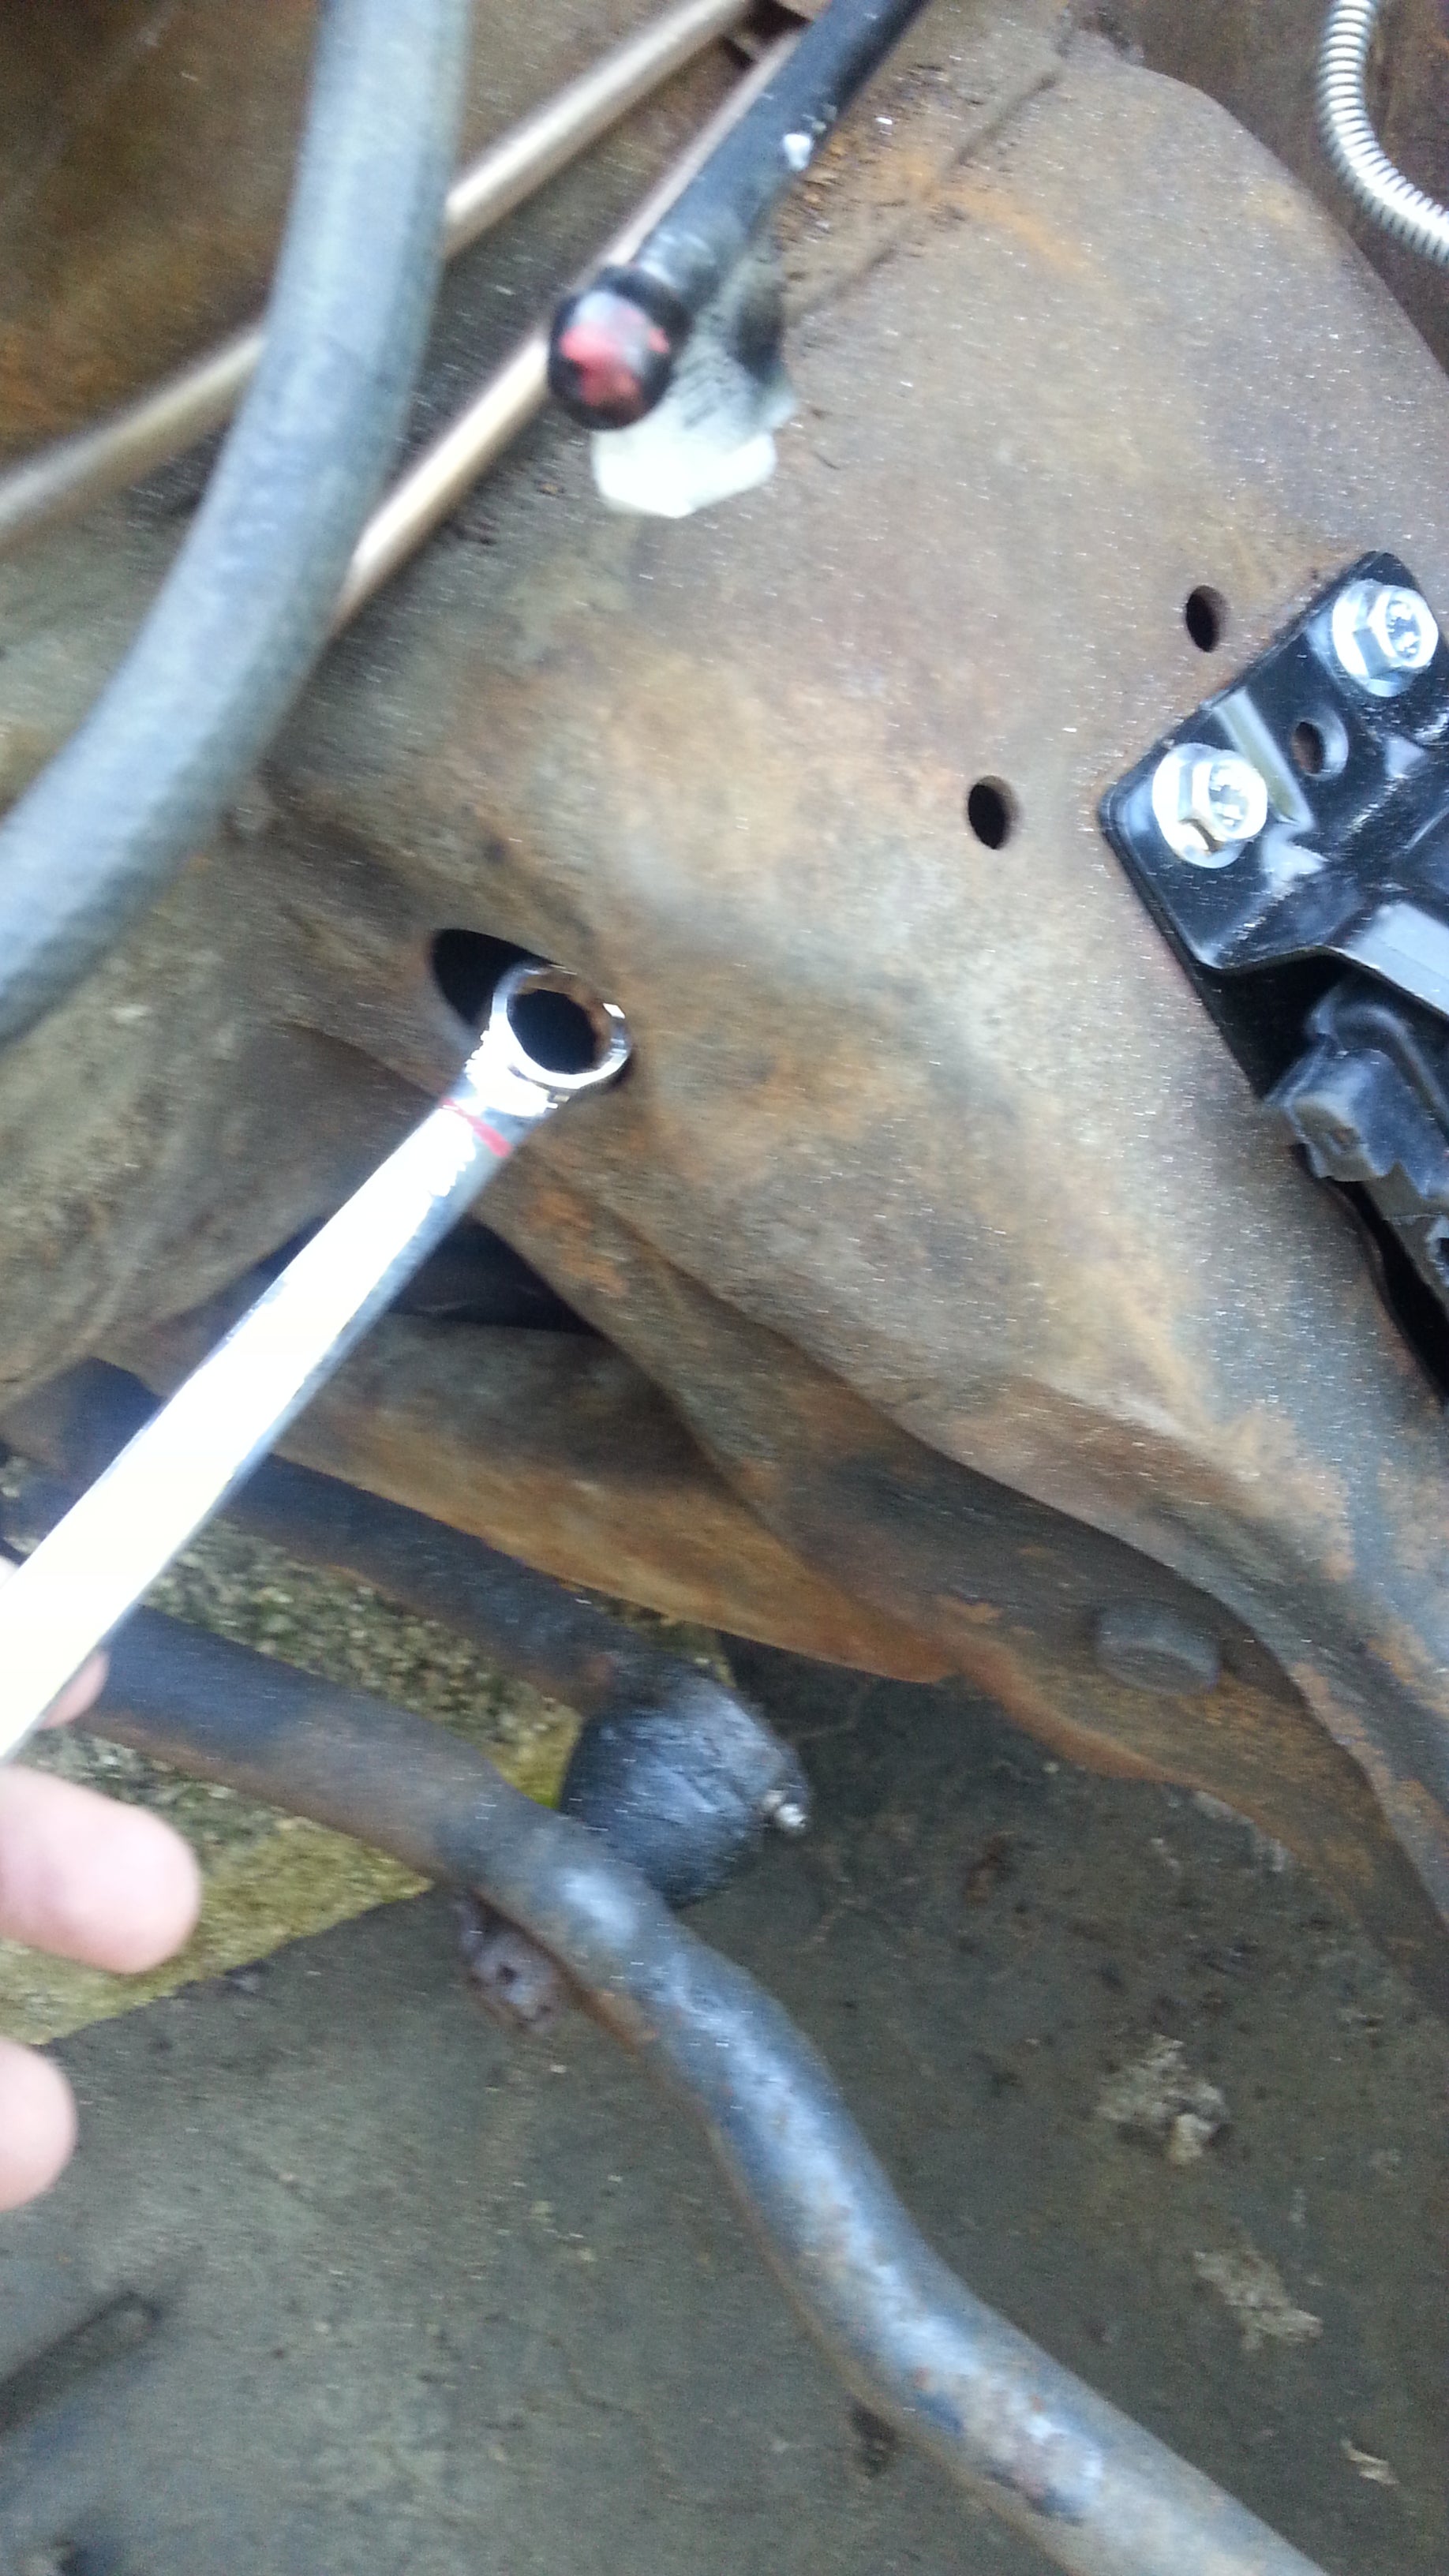
Use the distributor wrench to access the top two nuts through the upper hole for the lower control arm
, with a socket on the top side to torque them. BTW, it’s a 9/16 head.
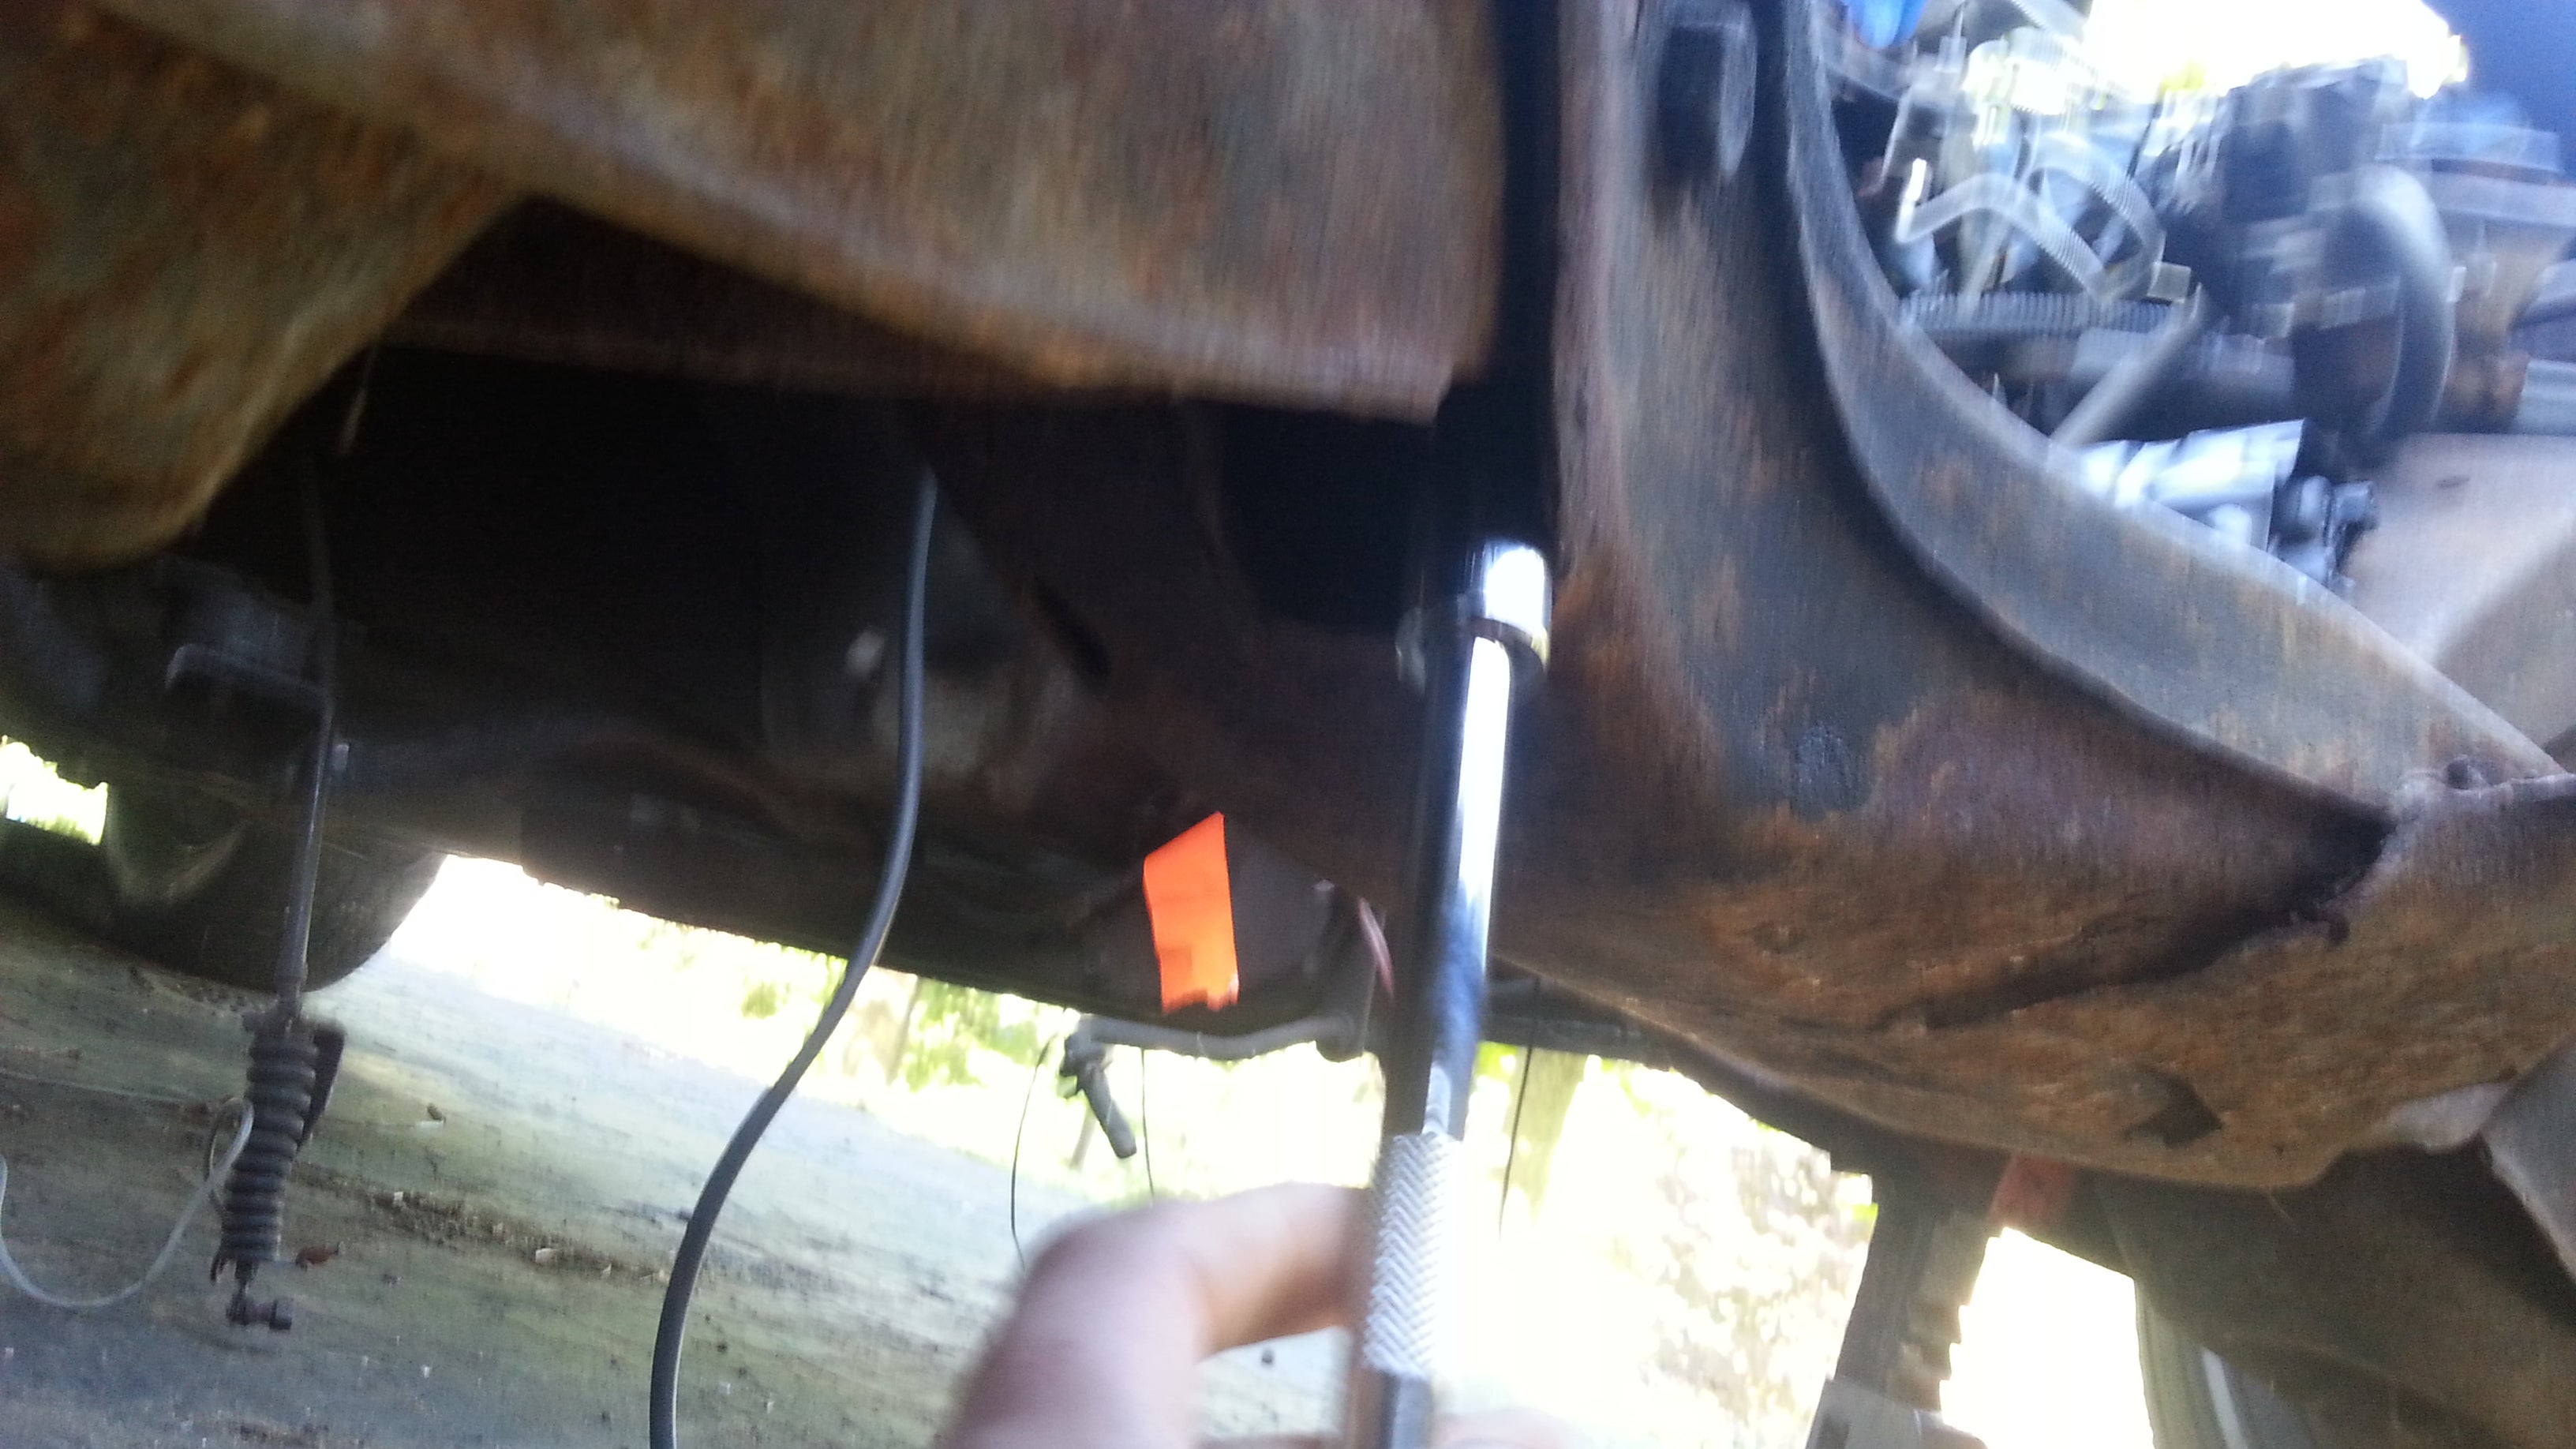
Use the wobble socket on the bottom bolt, under the control arm.
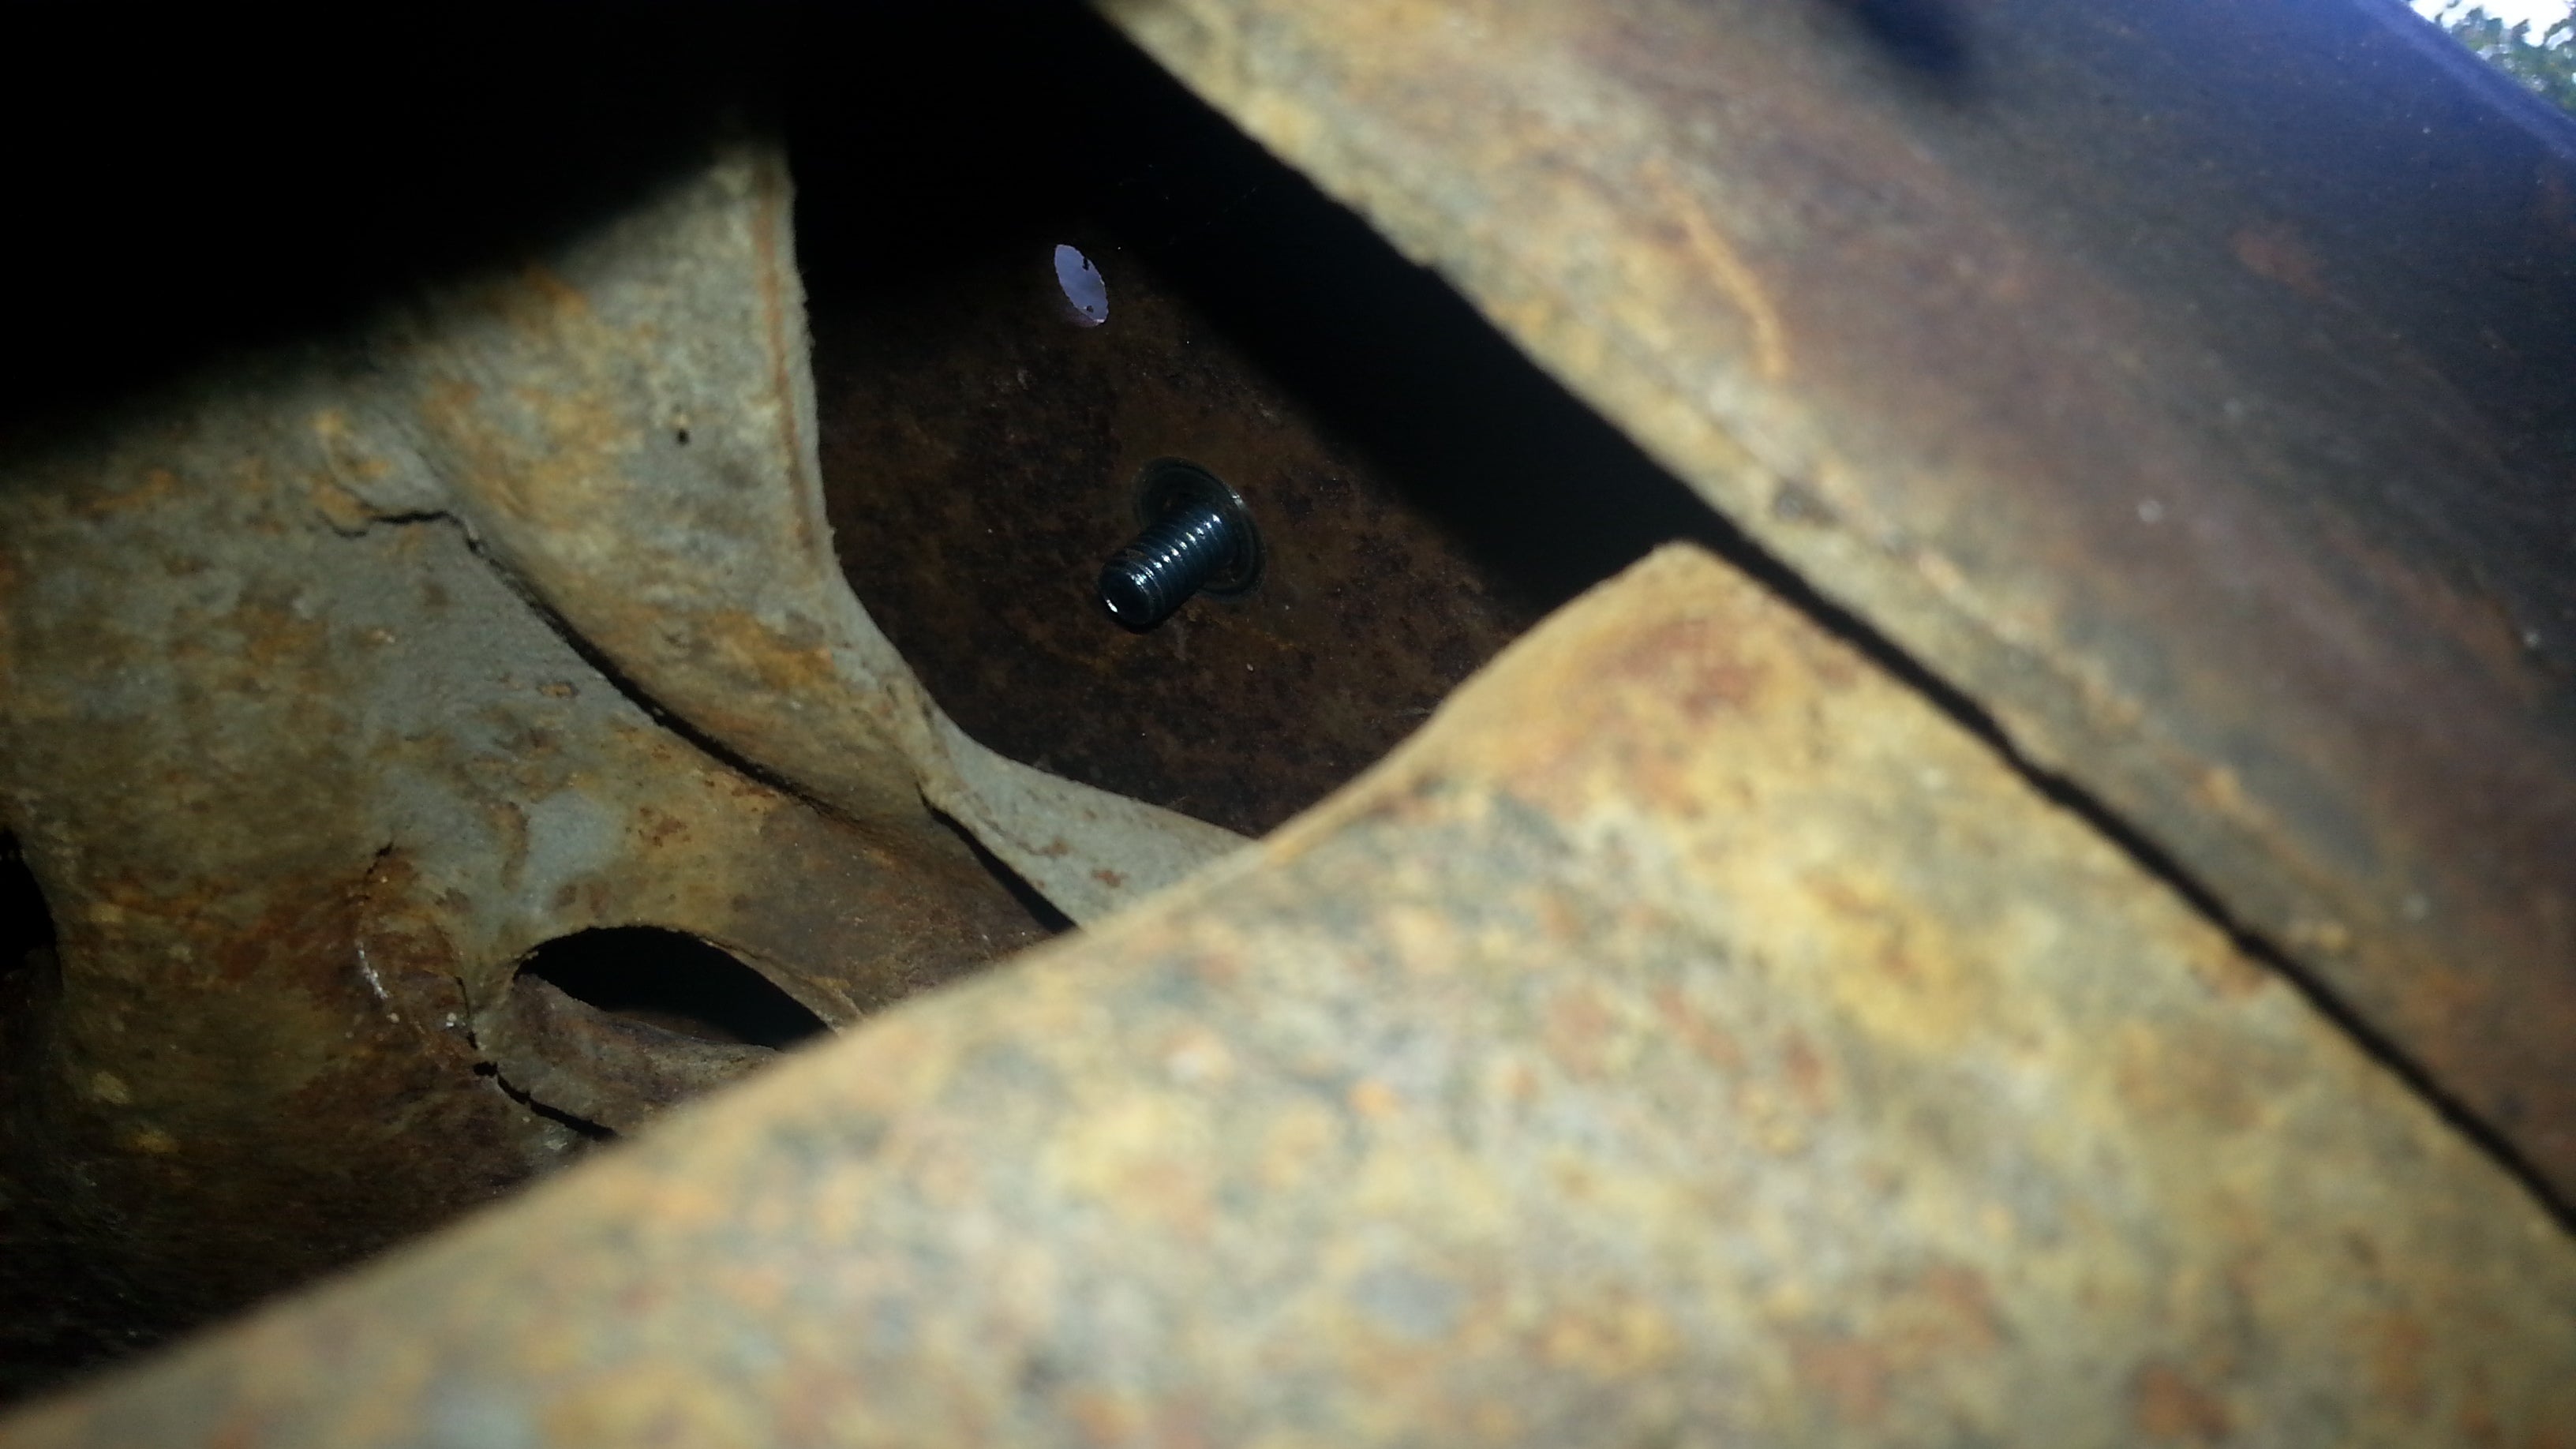
Getting the new bolts on, you have a serious risk of dropping and losing them in the crossmember. If you use the recommended flange nuts, you can just use the wrench to hold them up. The new bolts go on much much easier than the old ones come off, and you can see the shiny new metal much easier as well . The passenger side also lets you use a regular wrench.
Option b is to loop a piece of wire through the bolt hole, then have the new nut follow the wire. You can also tack the nut up there if you really want to. F
rankly, this was more difficult for me than just using a wrench, so I just did it normally. I did have extra fasteners though. S
peaking of which:
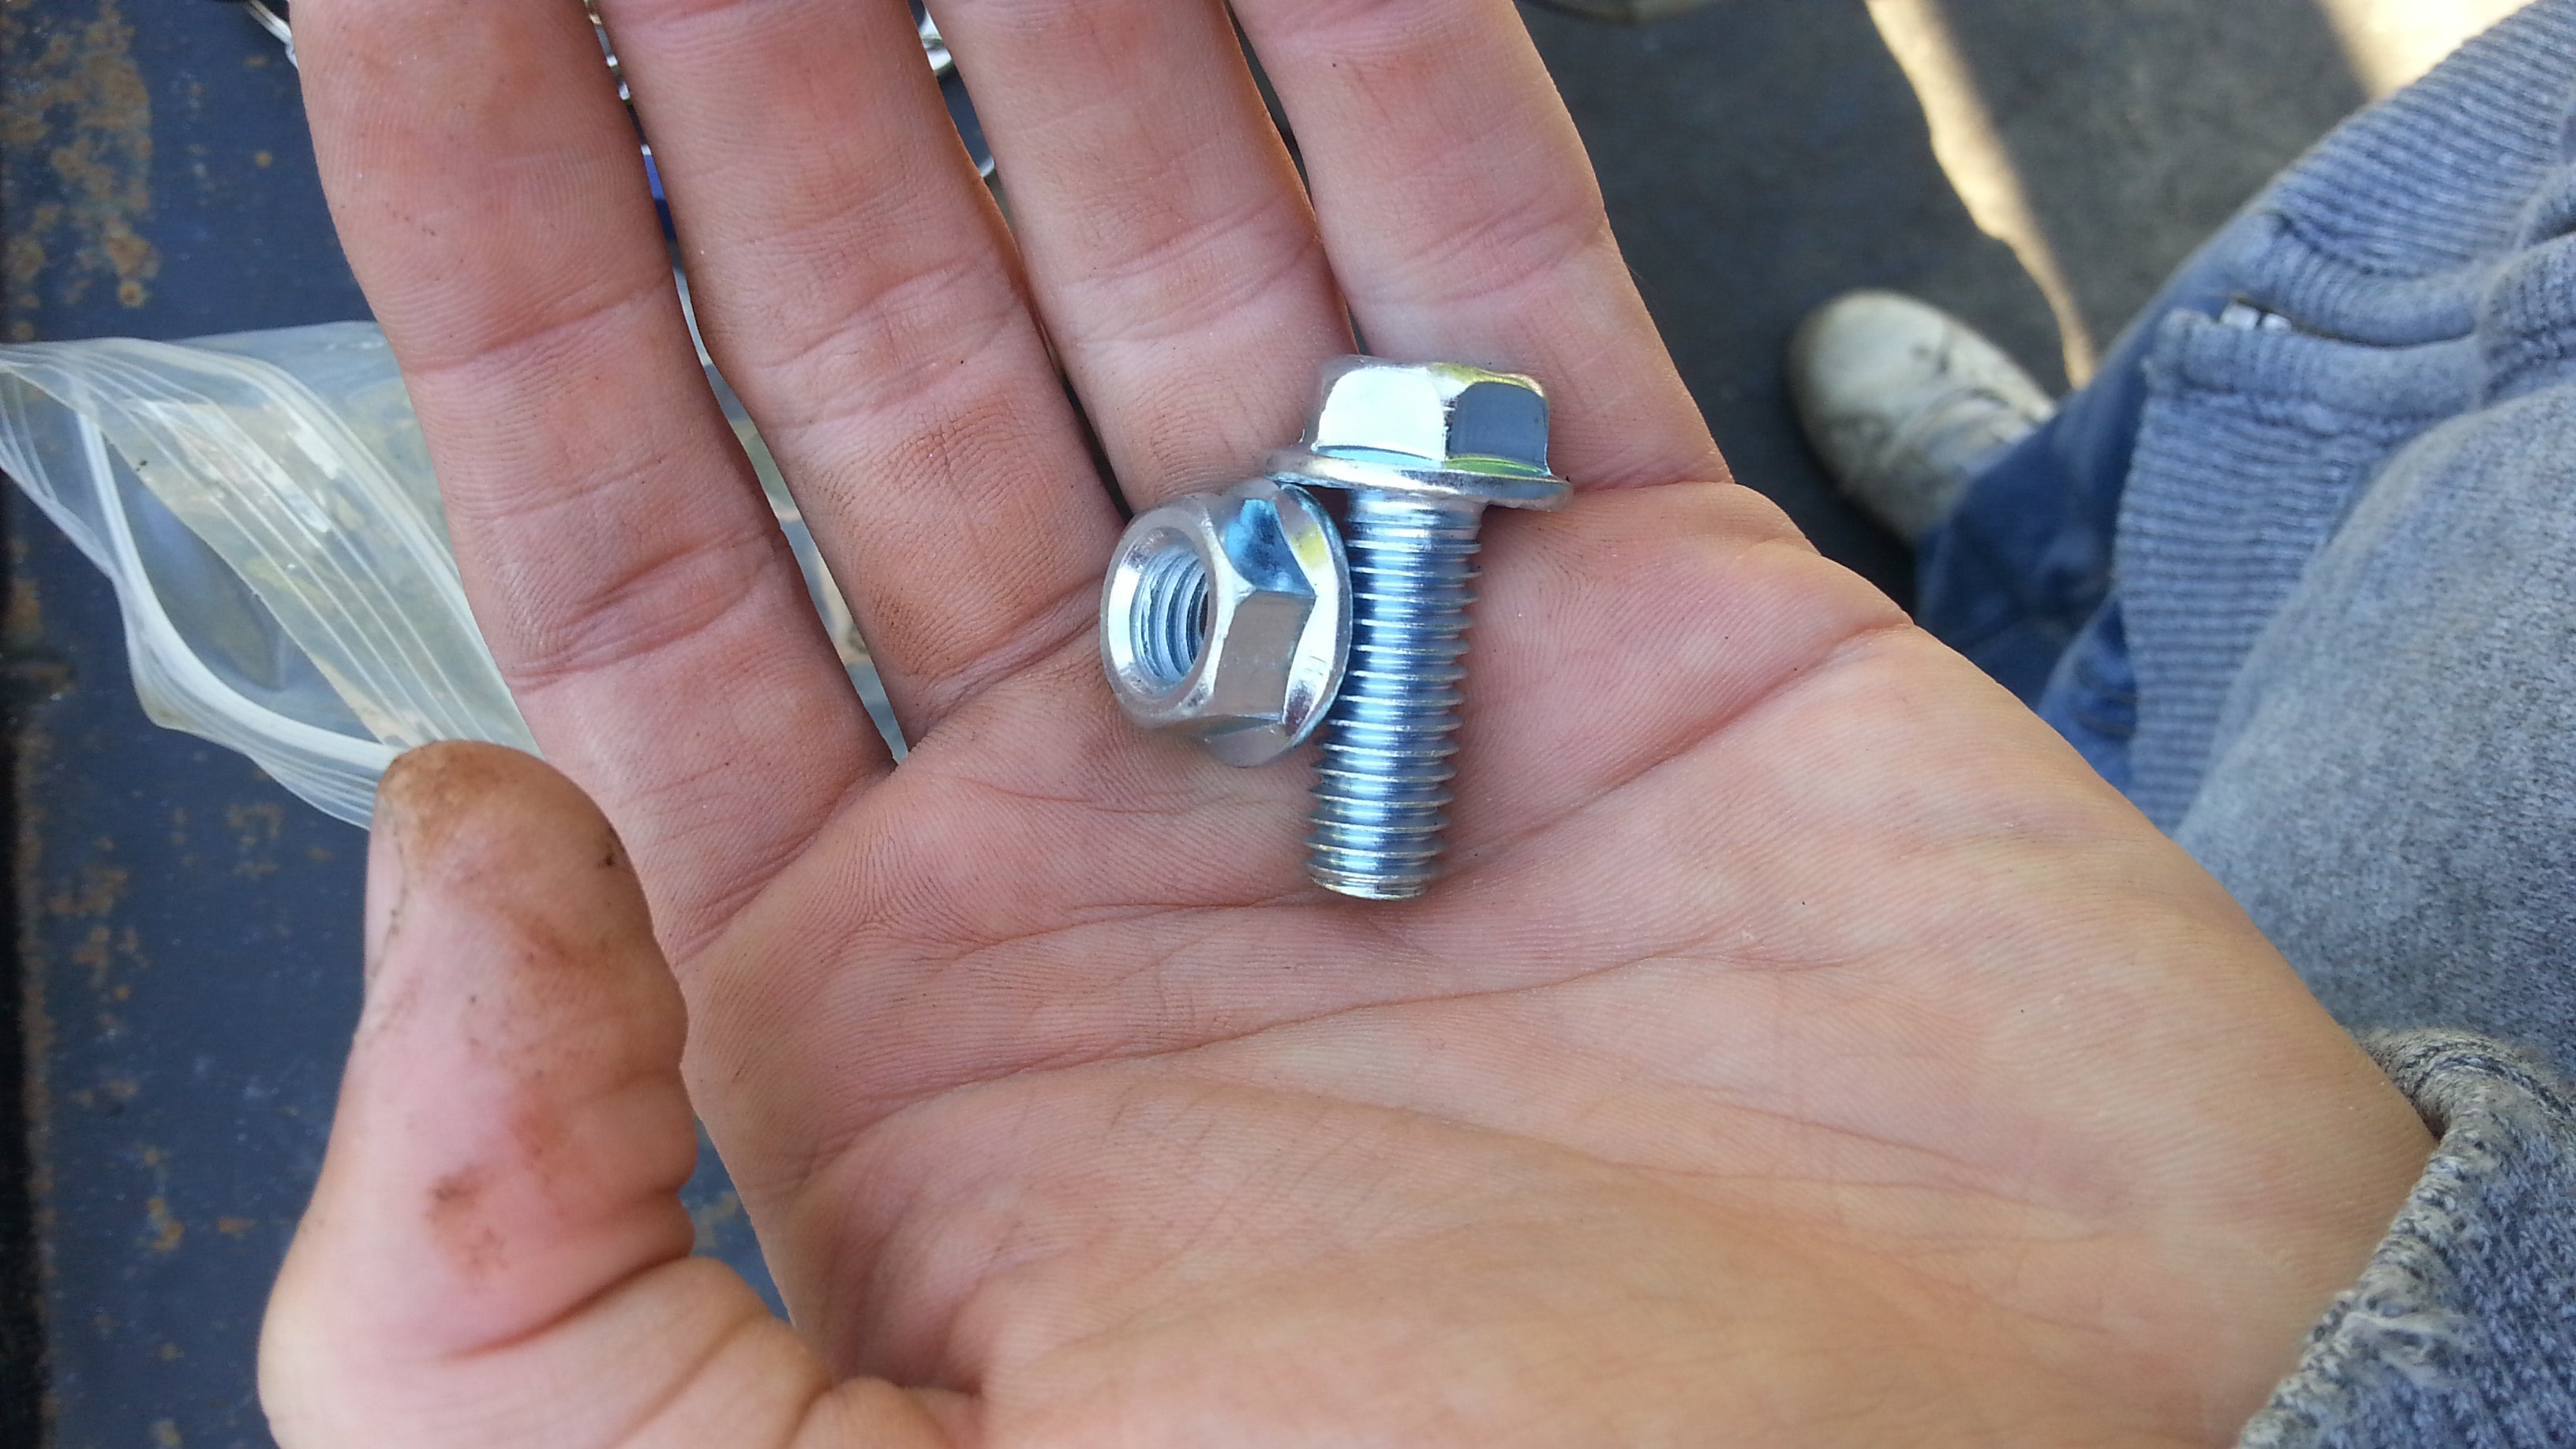
This is what you want. I went to my local fastenal for these. 3/8 fine pitch grade 8 1 inch bolts
(they have a 9/16 head)
, with flange.
Matching nuts. You have enough room, you could reasonably just use regular grade 8
nuts and super glue a washer to them. My local hardware stores suck on fasteners so I just went with the big guns.
 lone_liberal
> My bird IS the word
lone_liberal
> My bird IS the word
10/22/2018 at 19:02 |
|
NastyZ28 is definitely the go-to place for all second gen info. I’m always looking up stuff on there. And I agree, doing the frame side of the motor mounts sucks.
 Urambo Tauro
> My bird IS the word
Urambo Tauro
> My bird IS the word
10/22/2018 at 19:30 |
|
Looks a lot like my truck’s (GMT400) motor mount situation. Still got all my tools, but I lost two nuts inside that dang frame.
|
My bird IS the word
> Urambo Tauro
10/22/2018 at 19:51 |
|
Didn’t lose any nuts! And I bought extra too...
 Bandit
> My bird IS the word
Bandit
> My bird IS the word
10/22/2018 at 21:09 |
|
Honest question, can you do a proper technical write up on how to install motor mounts? When I did mine I could not find any real info on how to install them or what holes to use or anything. When I bought my car the mounts were welded in, and when I installed new mounts for my 400 I just welded them in too which I know I will hate myself for next time I do an engine swap.
|
My bird IS the word
> Bandit
10/23/2018 at 00:17 |
|
If you’d like, I can help a brother out. I already did them though. I can show you the holes and tools I used. Keep an eye on this space, ill edit this post.
|
My bird IS the word
> Bandit
10/23/2018 at 21:40 |
|
I finished the write up. Hope your install goes smoothly.
|
Bandit
> My bird IS the word
11/07/2018 at 17:37 |
|
Great write up, a million times more helpful than anything I’ve ever been able to find online! This will really come in handy. Thanks!
|
My bird IS the word
> Bandit
11/07/2018 at 17:38 |
|
No problem. I only wish someone could have done this for me ;)